
Shaving Foam Cleaning Hacks: Who knew that fluffy cloud of shaving cream hiding in your bathroom cabinet could be your secret weapon against grime and everyday messes? I certainly didn’t, until I stumbled upon a treasure trove of surprisingly effective cleaning tips! For generations, shaving foam has been primarily associated with grooming, but its unique properties – its airy texture and mild cleansing agents – make it a surprisingly versatile cleaning agent.
Think about it: shaving foam is designed to lift hairs from your skin, so it’s already formulated to loosen dirt and debris. This makes it perfect for tackling everything from stubborn stains on carpets to grimy bathroom mirrors. In a world increasingly focused on sustainable and budget-friendly solutions, these shaving foam cleaning hacks are a game-changer.
Why spend a fortune on specialized cleaning products when you can achieve sparkling results with something you likely already have on hand? I’m excited to share these simple, yet incredibly effective, DIY cleaning tricks that will not only save you money but also reduce your reliance on harsh chemicals. Get ready to unlock the cleaning potential of shaving foam and transform your home into a sparkling oasis!
Shaving Foam: Your Unexpected Cleaning Superhero!
Okay, friends, let’s talk about shaving foam. Yes, you read that right! That fluffy stuff you (or someone you know!) uses to get a smooth shave is actually a surprisingly versatile cleaning agent. I know, I was skeptical too, but trust me, once you try these hacks, you’ll be adding a can of shaving foam to your cleaning arsenal. It’s cheap, readily available, and smells pretty good, too!
Why Shaving Foam Works as a Cleaner
Before we dive into the how-to, let’s quickly touch on why shaving foam is such a cleaning whiz. It’s all about the ingredients! Most shaving foams contain:
* Surfactants: These are the magic workers that break down grease and grime, lifting them away from surfaces.
* Soaps: These help to emulsify the dirt and oil, making it easier to wipe away.
* Moisturizers: Surprisingly, these can help to condition some surfaces, preventing them from drying out.
* Propellants: These create the foam, making it easy to apply and spread.
Now, let’s get to the good stuff – the cleaning hacks!
Cleaning Mirrors and Glass to a Streak-Free Shine
Tired of streaks on your mirrors and windows? Shaving foam is your new best friend. This is one of my favorite uses because it’s so simple and effective.
What you’ll need:
* Shaving foam (any kind will do, but I prefer the basic, non-gel kind)
* A clean, lint-free cloth (microfiber is ideal)
* Water (optional)
Step-by-step instructions:
1. Apply the Shaving Foam: Spray a generous amount of shaving foam directly onto the mirror or glass surface. Don’t be shy! You want a good, even layer.
2. Spread it Around: Using your fingers or a clean cloth, spread the shaving foam evenly over the entire surface. Make sure to cover every inch, especially those stubborn fingerprint smudges.
3. Let it Sit: Allow the shaving foam to sit for a minute or two. This gives the surfactants time to work their magic and break down any dirt or grime.
4. Wipe it Clean: Using a clean, lint-free cloth, wipe away the shaving foam. Use circular motions to ensure you’re removing all the residue.
5. Buff to a Shine: If you notice any streaks, use a dry, clean section of your cloth to buff the surface to a sparkling shine. You can also lightly dampen the cloth with water for this step if needed.
Bonus Tip: This hack also works wonders on bathroom mirrors to prevent fogging! Apply a thin layer of shaving foam, let it sit for a minute, and wipe it away. Your mirror will stay fog-free for days!
Removing Carpet Stains Like a Pro
Spilled wine? Muddy paw prints? Don’t panic! Shaving foam can come to the rescue. This works best on fresh stains, but it can also help with older ones.
What you’ll need:
* Shaving foam (again, the basic kind is best)
* A clean, damp cloth or sponge
* A vacuum cleaner
Step-by-step instructions:
1. Apply the Shaving Foam: Apply a generous amount of shaving foam directly onto the carpet stain. Make sure to completely cover the affected area.
2. Let it Soak: Allow the shaving foam to soak into the stain for at least 15-20 minutes. For tougher stains, you can even let it sit for an hour or two. The longer it sits, the better chance it has of lifting the stain.
3. Blot, Don’t Rub: Using a clean, damp cloth or sponge, gently blot the stain. Avoid rubbing, as this can spread the stain and damage the carpet fibers. Work from the outside of the stain inwards to prevent it from spreading.
4. Rinse (Optional): If you feel like there’s still shaving foam residue left in the carpet, you can lightly rinse the area with clean water. Use a clean cloth to blot up any excess water.
5. Vacuum: Once the area is completely dry, vacuum the carpet to restore its texture and remove any remaining residue.
Important Note: Always test the shaving foam on a small, inconspicuous area of your carpet first to ensure it doesn’t cause any discoloration or damage.
Cleaning Stainless Steel Appliances to a Gleaming Finish
Stainless steel appliances are beautiful, but they’re also notorious for showing fingerprints and smudges. Shaving foam can help you keep them looking their best.
What you’ll need:
* Shaving foam
* A clean, soft cloth (microfiber is great)
Step-by-step instructions:
1. Apply the Shaving Foam: Spray a small amount of shaving foam onto a clean, soft cloth.
2. Wipe the Appliance: Gently wipe the stainless steel appliance in the direction of the grain. This will help to avoid streaks.
3. Buff to a Shine: Use a clean, dry section of your cloth to buff the appliance to a gleaming shine.
Pro Tip: This works great on refrigerators, dishwashers, ovens, and even stainless steel sinks!
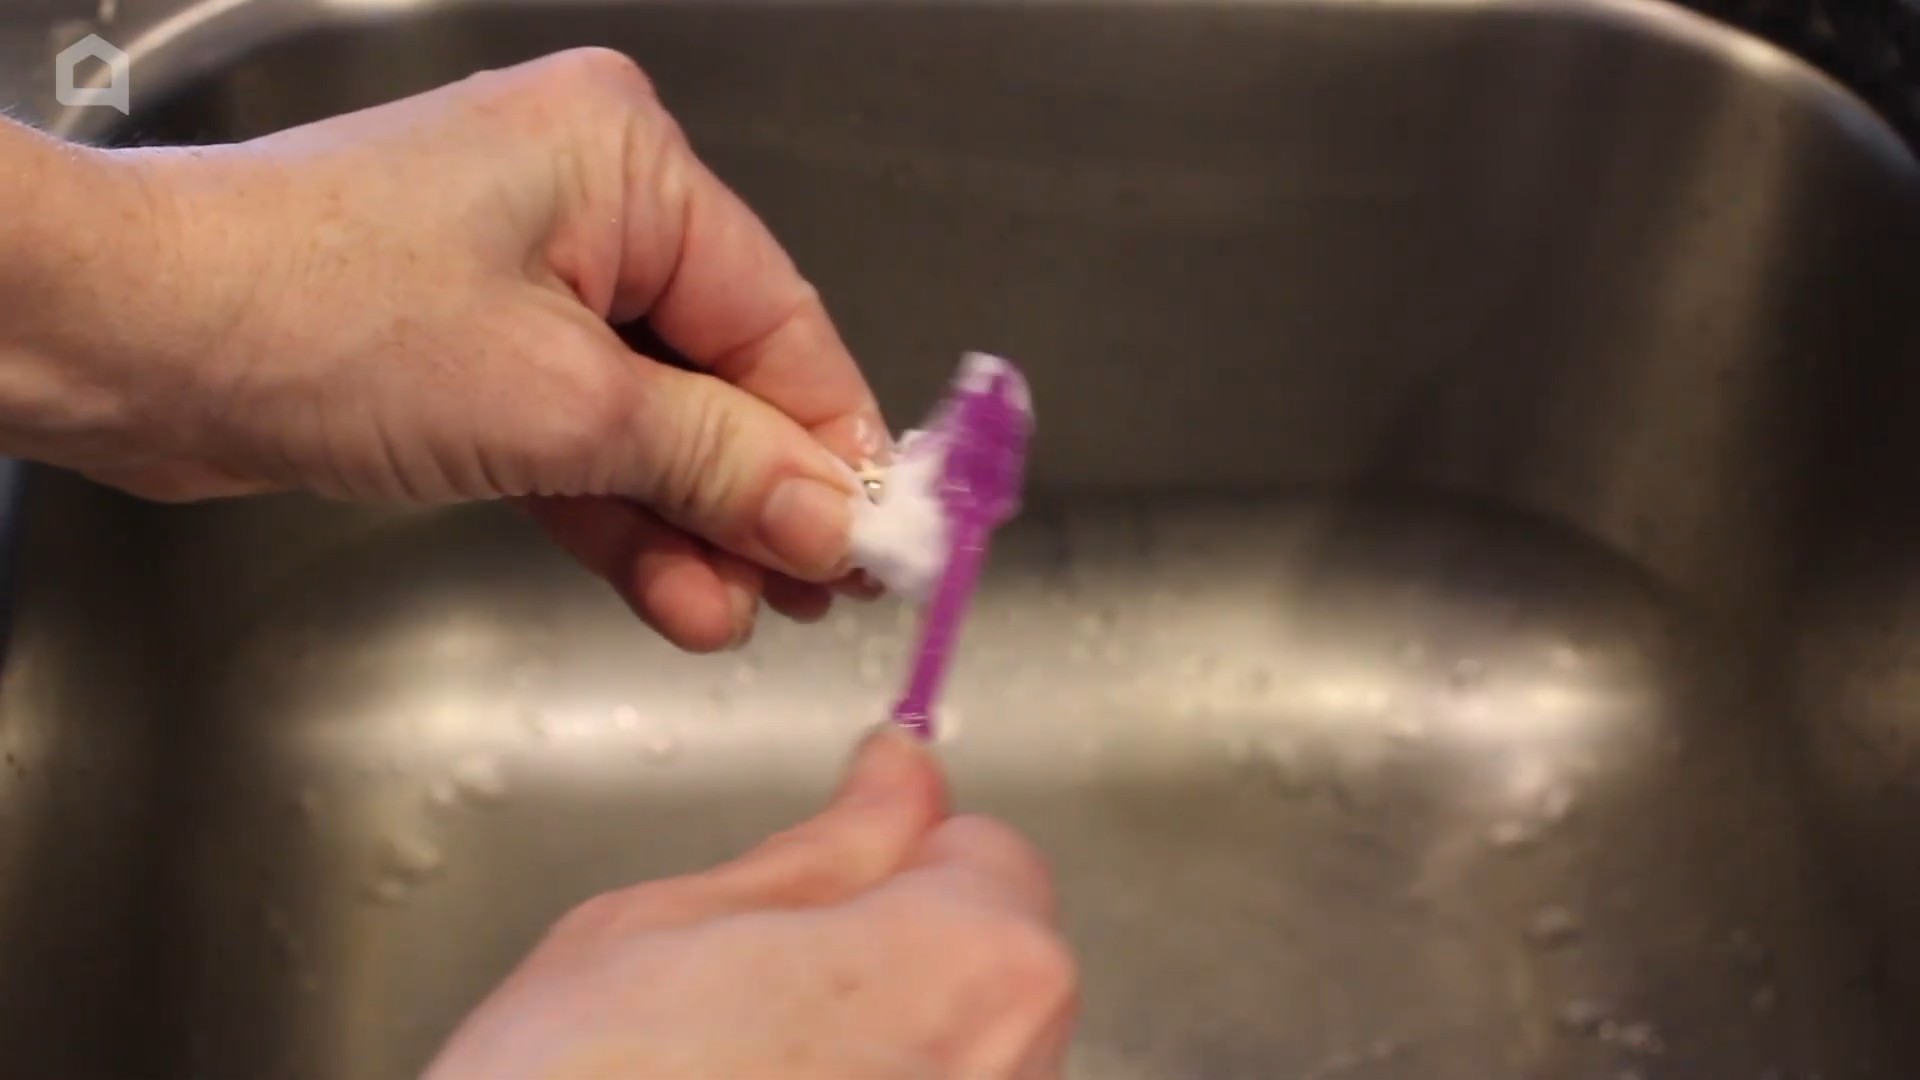
Polishing Jewelry for a Sparkling Shine
Believe it or not, shaving foam can also be used to clean and polish your jewelry! This is a gentle and effective way to remove dirt and grime and restore the shine to your favorite pieces.
What you’ll need:
* Shaving foam
* A soft-bristled toothbrush (an old toothbrush works perfectly)
* Warm water
* A clean, soft cloth
Step-by-step instructions:
1. Apply the Shaving Foam: Apply a small amount of shaving foam to your jewelry.
2. Gently Scrub: Using a soft-bristled toothbrush, gently scrub the jewelry to remove any dirt or grime. Pay special attention to any crevices or hard-to-reach areas.
3. Rinse Thoroughly: Rinse the jewelry thoroughly with warm water to remove all traces of shaving foam.
4. Dry and Buff: Use a clean, soft cloth to dry the jewelry and buff it to a sparkling shine.
Important Note: This method is safe for most types of jewelry, but avoid using it on delicate stones or pearls, as the shaving foam could potentially damage them.
Cleaning Bathroom Fixtures for a Sparkling Clean
From faucets to showerheads, shaving foam can help you keep your bathroom fixtures looking their best. It’s especially effective at removing soap scum and hard water stains.
What you’ll need:
* Shaving foam
* A clean cloth or sponge
* Water
Step-by-step instructions:
1. Apply the Shaving Foam: Apply a generous amount of shaving foam to the bathroom fixtures you want to clean.
2. Let it Sit: Allow the shaving foam to sit for a few minutes to loosen any soap scum or hard water stains.
3. Wipe Clean: Using a clean cloth or sponge, wipe the fixtures clean.
4. Rinse Thoroughly: Rinse the fixtures thoroughly with water to remove all traces of shaving foam.
5. Dry and Buff: Use a clean, dry cloth to dry the fixtures and buff them to a sparkling shine.
Bonus Tip: This also works great on shower doors and walls to remove soap scum!
Removing Paint Splatters from Skin
Accidentally got paint on your skin during your latest DIY project? Shaving foam to the rescue! It’s a gentle and effective way to remove paint splatters without irritating your skin.
What you’ll need:
* Shaving foam
* A clean cloth or paper towel
* Warm water
Step-by-step instructions:
1. Apply the Shaving Foam: Apply a generous amount of shaving foam to the area of skin with paint splatters.
2. Let it Sit: Allow the shaving foam to sit for a minute or two to soften the paint.
3. Gently Wipe: Using a clean cloth or paper towel, gently wipe away the shaving foam and paint.
4. Rinse Thoroughly: Rinse the area thoroughly with warm water to remove any remaining shaving foam and paint residue.
Important Note: This works best on fresh paint splatters. For dried paint, you may need to repeat the process or use a different method.
Cleaning Upholstery
Shaving cream can be used to spot clean upholstery.
What you’ll need:
* Shaving foam
* A clean, damp cloth
* A dry cloth
Step-by-step instructions:
1. Apply the Shaving Foam: Apply a small amount of shaving foam to

Conclusion
So, there you have it! Shaving foam isn’t just for a smooth shave; it’s a surprisingly versatile and effective cleaning agent that can tackle a multitude of household messes. From banishing stubborn stains on carpets and upholstery to restoring shine to your stainless steel appliances, this simple DIY trick offers a cost-effective and readily available solution to many common cleaning challenges.
Why is this a must-try? Because it’s simple, affordable, and effective. You likely already have a can of shaving foam under your sink, meaning you can start experimenting with these cleaning hacks right now without a trip to the store. The gentle yet powerful formula of shaving foam makes it safe for a variety of surfaces, reducing the risk of damage or discoloration. Plus, the pleasant scent of many shaving foams leaves your home smelling fresh and clean.
But don’t just take our word for it! We encourage you to put these shaving foam cleaning hacks to the test. Start with a small, inconspicuous area to ensure compatibility, and then unleash the cleaning power of this unexpected household hero.
Looking for variations? Consider adding a few drops of your favorite essential oil to the shaving foam for an extra boost of fragrance. Lavender, lemon, and tea tree oil are all excellent choices for their cleaning and aromatherapy benefits. For tougher stains, let the shaving foam sit for a longer period before wiping it away. You can also use a soft-bristled brush to gently scrub the area for enhanced cleaning power. Experiment with different types of shaving foam to find the one that works best for your needs. Some prefer the thicker consistency of gel-based foams, while others find the lighter texture of cream-based foams more effective.
The possibilities are endless! We’re confident that once you discover the cleaning magic of shaving foam, you’ll be amazed at its versatility and effectiveness. So, grab a can, get cleaning, and prepare to be impressed.
We’d love to hear about your experiences with these shaving foam cleaning hacks. Share your before-and-after photos, tips, and tricks in the comments below. Let’s build a community of cleaning enthusiasts who are passionate about finding innovative and affordable solutions to everyday messes. Your insights could help others discover the transformative power of this simple DIY trick. Don’t forget to tell us which hack worked best for you and any creative ways you’ve found to use shaving foam around the house. Happy cleaning!
Frequently Asked Questions (FAQs)
Is shaving foam safe to use on all surfaces?
While shaving foam is generally considered safe for most surfaces, it’s always best to test it in an inconspicuous area first. This is especially important for delicate materials like leather, silk, or certain types of painted surfaces. Apply a small amount of shaving foam to the test area, let it sit for a few minutes, and then wipe it away. If there’s no discoloration or damage, you can proceed with cleaning the entire surface. Avoid using shaving foam on electronics or any surface that could be damaged by moisture.
What type of shaving foam works best for cleaning?
The type of shaving foam you use is largely a matter of personal preference. Both gel-based and cream-based shaving foams can be effective for cleaning. Gel-based foams tend to be thicker and may be better for tackling stubborn stains, while cream-based foams are often lighter and easier to spread. Experiment with different types to see which one works best for your specific cleaning needs. Avoid using shaving creams that contain harsh chemicals or abrasive ingredients, as these could damage delicate surfaces.
Can I use shaving foam to clean my car interior?
Yes, shaving foam can be used to clean certain parts of your car interior, such as fabric seats and carpets. However, it’s important to test it in an inconspicuous area first to ensure it doesn’t damage the material. Apply a small amount of shaving foam to the test area, let it sit for a few minutes, and then wipe it away. If there’s no discoloration or damage, you can proceed with cleaning the entire surface. Avoid using shaving foam on leather seats or the dashboard, as it could damage these materials.
How long should I leave the shaving foam on a stain before wiping it away?
The amount of time you leave the shaving foam on a stain will depend on the severity of the stain. For light stains, a few minutes may be sufficient. For tougher stains, you may need to let the shaving foam sit for 15-20 minutes or even longer. Check the stain periodically to see if it’s lifting. Once the stain has lifted, wipe away the shaving foam with a clean, damp cloth.
Will shaving foam damage my carpets or upholstery?
Shaving foam is generally safe for use on carpets and upholstery, but it’s always best to test it in an inconspicuous area first. Apply a small amount of shaving foam to the test area, let it sit for a few minutes, and then wipe it away. If there’s no discoloration or damage, you can proceed with cleaning the entire surface. Avoid using excessive amounts of shaving foam, as this could make it difficult to remove.
Can I use shaving foam to clean my bathroom?
Yes, shaving foam can be used to clean various surfaces in your bathroom, such as mirrors, shower doors, and countertops. It’s particularly effective at removing soap scum and water spots. Simply apply a thin layer of shaving foam to the surface, let it sit for a few minutes, and then wipe it away with a clean cloth. For tougher stains, you can use a soft-bristled brush to gently scrub the area.
Does shaving foam disinfect surfaces?
While shaving foam can help to clean and remove dirt and grime from surfaces, it’s not a disinfectant. If you need to disinfect a surface, you’ll need to use a separate disinfectant product. However, the cleaning action of shaving foam can help to remove germs and bacteria from surfaces, making them cleaner and more hygienic.
What are some other uses for shaving foam around the house?
Besides cleaning carpets, upholstery, and bathrooms, shaving foam can also be used to:
* Remove makeup stains from clothing
* Clean stainless steel appliances
* Shine chrome fixtures
* Remove sticky residue from labels
* Clean paintbrushes
Is there any surface that I should absolutely avoid using shaving foam on?
Yes, avoid using shaving foam on electronics, leather, silk, and certain types of painted surfaces. These materials are more delicate and could be damaged by the moisture or chemicals in shaving foam. Always test in an inconspicuous area first, even on surfaces generally considered safe.
How do I remove shaving foam residue after cleaning?
After cleaning with shaving foam, it’s important to remove any residue to prevent stickiness or discoloration. Use a clean, damp cloth to wipe away the shaving foam. You may need to rinse the cloth several times to remove all of the residue. For carpets and upholstery, you can use a vacuum cleaner to remove any remaining moisture.
Leave a Comment