
Solvent and Baking Soda Cleaning: Unlock the Power of DIY Cleaning! Are you tired of stubborn stains and grime that just won’t budge? Do you yearn for a sparkling clean home without resorting to harsh chemicals? Well, you’re in the right place! I’m excited to share some incredible DIY cleaning tricks that combine the power of solvent and baking soda for amazing results.
Baking soda, a humble household staple, has a rich history as a natural cleaner, dating back centuries. Our grandmothers knew its magic, using it for everything from deodorizing to scrubbing. Now, when we pair it with the right solvent, we unlock a cleaning powerhouse! But why should you embrace this DIY approach?
In today’s world, many commercial cleaners are packed with synthetic chemicals that can be harmful to our health and the environment. Plus, they can be expensive! This solvent and baking soda cleaning method offers a safe, effective, and budget-friendly alternative. I’ll show you how to tackle tough cleaning challenges, from greasy stovetops to stained bathtubs, using simple ingredients you probably already have in your pantry. Get ready to transform your cleaning routine and create a healthier, happier home!
“`html
DIY Super Cleaner: Baking Soda and Solvent Powerhouse
Hey there, fellow DIY enthusiasts! Today, I’m going to share my secret weapon for tackling those truly stubborn cleaning jobs: a powerful cleaning paste made from baking soda and a solvent. Now, before you get nervous about using solvents, let me assure you that we’ll be doing it safely and effectively. This isn’t about drenching everything in harsh chemicals; it’s about harnessing the cleaning power of a solvent in a controlled and targeted way, boosted by the abrasive and deodorizing properties of baking soda.
Important Safety First! Always wear gloves and eye protection when working with solvents. Ensure adequate ventilation – open windows or use a fan. Never mix solvents with bleach or other cleaning products. And always test the cleaner in an inconspicuous area first to ensure it doesn’t damage the surface.
Understanding the Power Duo: Baking Soda and Solvents
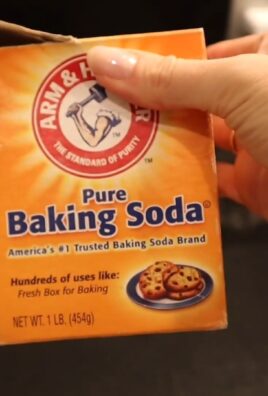
Baking soda (sodium bicarbonate) is a fantastic natural cleaner. It’s mildly abrasive, helping to scrub away grime, and it’s a natural deodorizer, absorbing odors instead of just masking them. Solvents, on the other hand, are liquids that can dissolve other substances. They’re particularly effective at breaking down grease, oil, adhesives, and other tough residues that baking soda alone might struggle with.
Choosing Your Solvent: The right solvent depends on the cleaning task. Here are a few common options:
* Mineral Spirits (Paint Thinner): Excellent for removing oil-based paints, varnishes, grease, and adhesives. It’s a stronger solvent, so use it with caution and good ventilation.
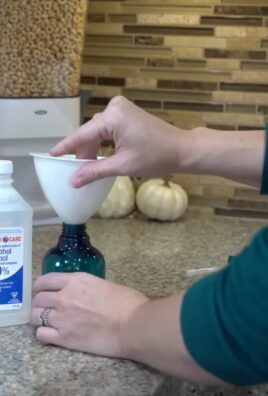
* Isopropyl Alcohol (Rubbing Alcohol): A good all-purpose solvent for dissolving grease, ink, and some adhesives. It evaporates quickly, which can be an advantage.
* Acetone (Nail Polish Remover): Very strong and effective for dissolving nail polish, super glue, and some plastics. Use with extreme caution and excellent ventilation, as it’s highly flammable.
* Citrus Solvent (d-Limonene): A natural solvent derived from citrus peels. It’s effective for removing grease, adhesives, and some inks, and it has a pleasant citrus scent. It’s generally considered a safer alternative to stronger solvents.
For this guide, I’ll be focusing on using mineral spirits, as it’s a versatile and readily available option for many tough cleaning tasks. But remember to choose the solvent that’s best suited for your specific needs.
Materials You’ll Need
* Baking Soda
* Mineral Spirits (or your chosen solvent)
* Gloves (chemical-resistant)
* Eye Protection (safety glasses or goggles)
* A Small Container (glass or plastic) for mixing
* A Stirring Stick (wooden or plastic)
* Clean Rags or Sponges
* Optional: A soft-bristled brush (like an old toothbrush) for scrubbing
Step-by-Step Guide: Creating and Using Your Super Cleaner
Phase 1: Mixing the Cleaning Paste
1. Prepare Your Workspace: Lay down some newspaper or a drop cloth to protect your work surface. Make sure you have good ventilation. Open windows and/or use a fan to circulate the air.
2. Put on Your Protective Gear: This is crucial! Put on your gloves and eye protection before handling the solvent.
3. Add Baking Soda to the Container: Start with about 1/2 cup of baking soda in your mixing container. You can always add more later if needed.
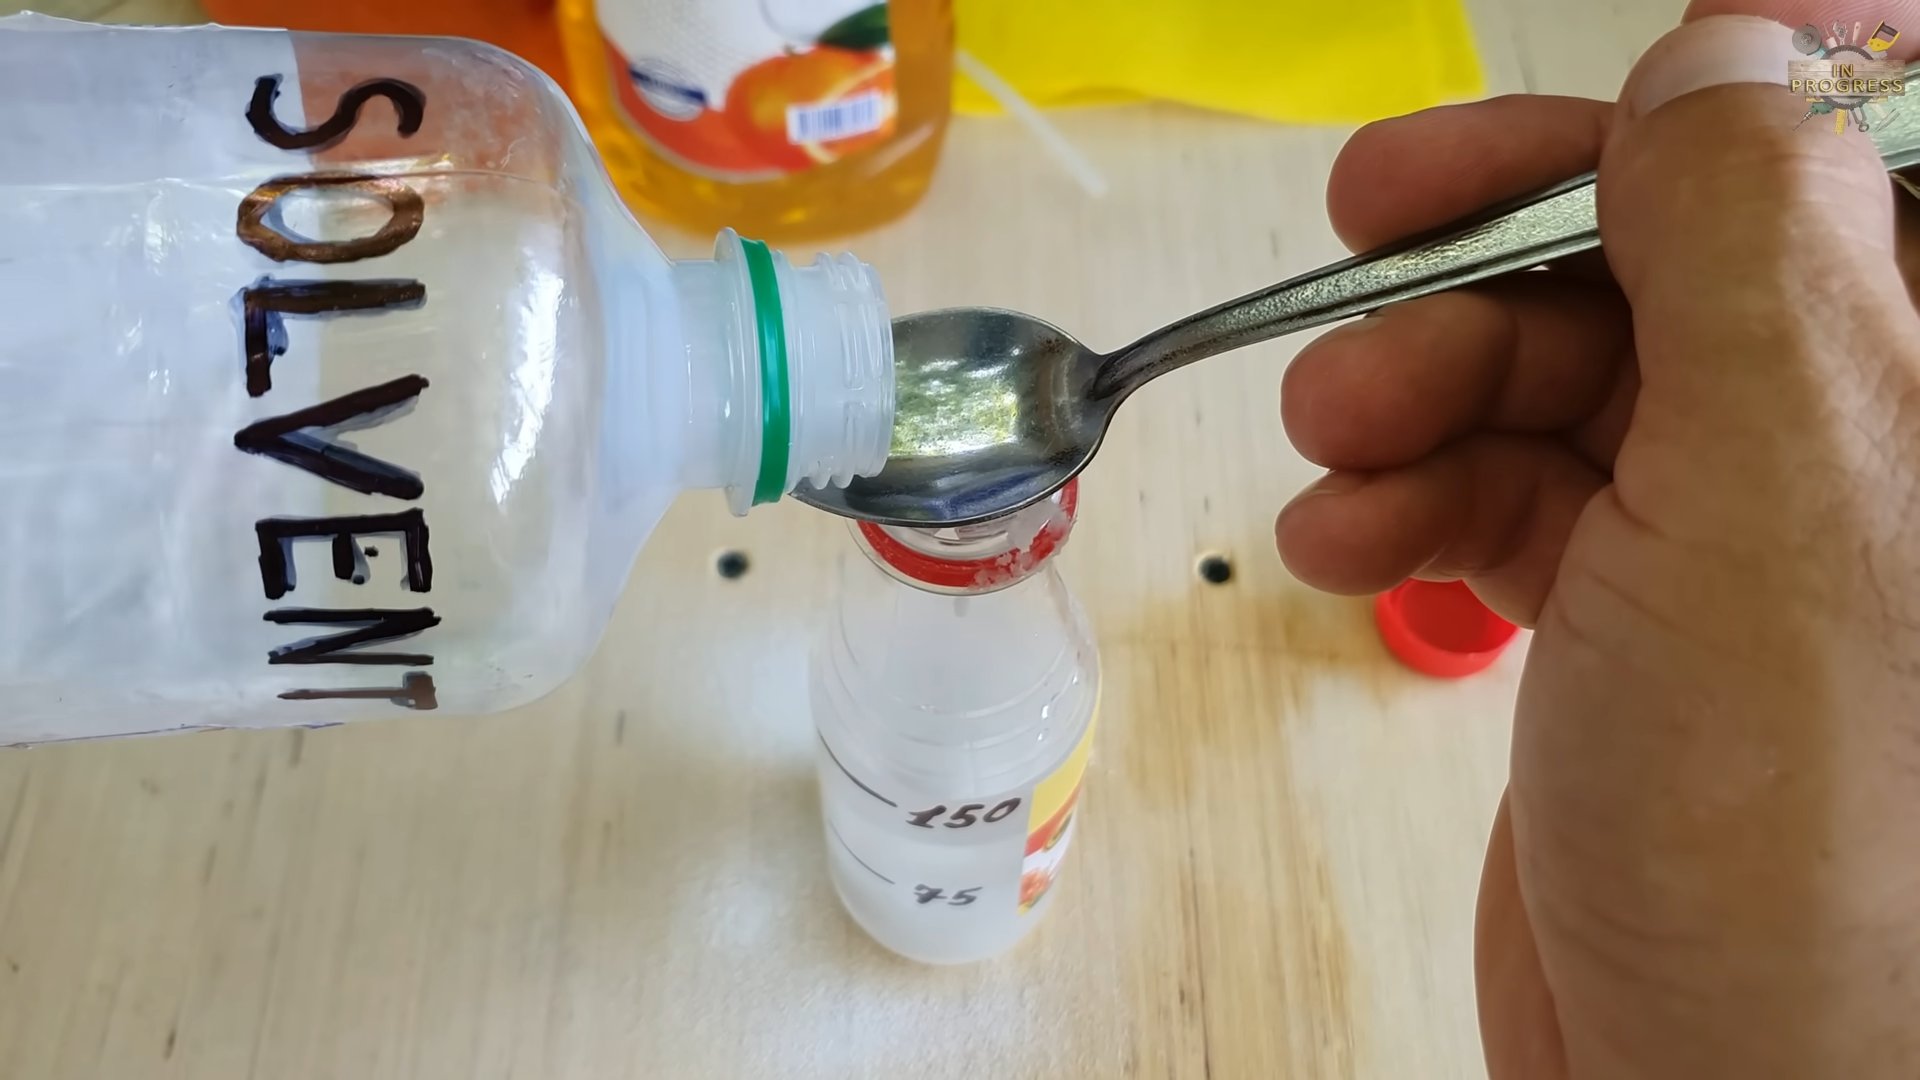
4. Slowly Add Mineral Spirits: This is where you need to be careful. Slowly pour a small amount of mineral spirits into the baking soda. I usually start with about a tablespoon.
5. Mix Thoroughly: Use your stirring stick to mix the baking soda and mineral spirits. The goal is to create a thick paste, similar in consistency to toothpaste.
6. Adjust the Consistency: If the mixture is too dry, add a little more mineral spirits, a few drops at a time, until you reach the desired consistency. If it’s too runny, add more baking soda. Remember, you want a paste that will cling to surfaces.
Phase 2: Applying and Cleaning
1. Test in an Inconspicuous Area: Before applying the paste to the entire surface, test it in a small, hidden area to make sure it doesn’t damage the material. Apply a small amount of the paste, let it sit for a few minutes, and then wipe it off. Check for any discoloration, etching, or other damage.
2. Apply the Paste: Using a clean rag or sponge, apply the baking soda and solvent paste to the area you want to clean. For stubborn stains or grime, you can use a soft-bristled brush to work the paste into the surface.
3. Let it Sit (But Not Too Long!): Allow the paste to sit on the surface for a few minutes to allow the solvent to break down the grime. However, don’t let it dry completely, as it will be harder to remove. I usually wait for 5-10 minutes, depending on the severity of the stain.
4. Scrub Gently: Using a clean rag, sponge, or brush, gently scrub the area to loosen the grime. The baking soda will provide a mild abrasive action to help remove stubborn residues.
5. Wipe Away the Paste: Use a clean, damp rag to wipe away the baking soda and solvent paste. You may need to rinse the rag frequently to remove all the residue.
6. Dry the Surface: Once you’ve removed all the paste, dry the surface with a clean, dry rag.
7. Repeat if Necessary: For particularly stubborn stains, you may need to repeat the process.
Phase 3: Disposal and Storage
1. Dispose of Used Rags Properly: Because mineral spirits are flammable, it’s important to dispose of used rags properly. Allow the rags to air dry completely outdoors, away from any sources of ignition. Once they are dry, you can dispose of them in the trash. Alternatively, you can soak the rags in water before disposing of them.
2. Store Remaining Paste Safely: If you have any leftover cleaning paste, store it in a tightly sealed container in a cool, dry place, away from children and pets. Be sure to label the container clearly with the contents and any safety precautions.
Specific Cleaning Applications
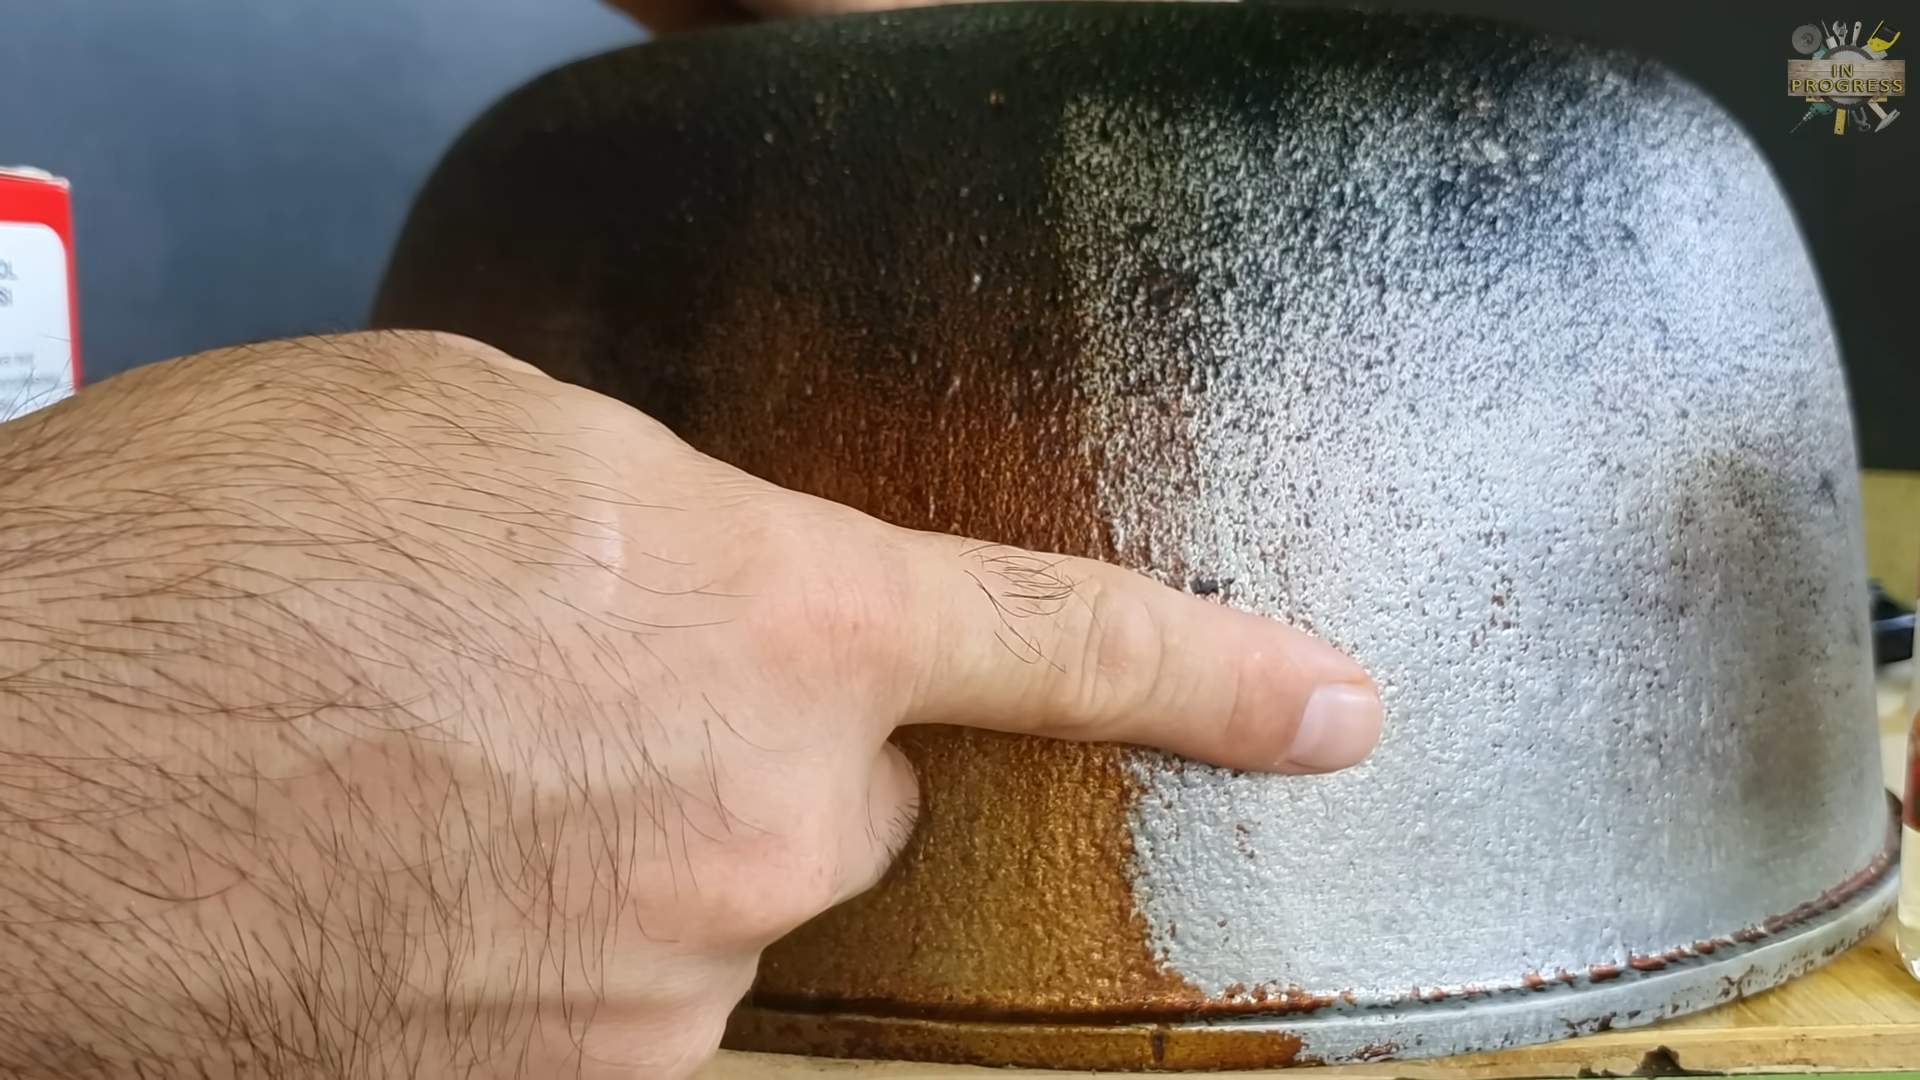
* Greasy Stovetops and Ovens: This paste works wonders on baked-on grease and food splatters. Apply, let sit, scrub, and wipe clean.
* Tile Grout: The abrasive action of the baking soda helps to scrub away dirt and mildew from grout lines. Use a toothbrush for precise application.
* Sticky Residue from Stickers and Tape: The solvent helps to dissolve the adhesive, making it easier to remove the residue.
* Grease Stains on Clothing (Use with Caution!): Test in an inconspicuous area first! Apply a small amount of the paste to the stain, let it sit for a few minutes, and then blot with a clean rag. Wash the garment as usual.
* Removing Paint Splatters: Mineral spirits are excellent for removing dried paint splatters from various surfaces.
Troubleshooting Tips
* Paste is Too Runny: Add more baking soda, a little at a time, until you reach the desired consistency.
* Paste is Too Dry: Add more mineral spirits, a few drops at a time, until you reach the desired consistency.
* Stain is Not Coming Off: Try letting the paste sit for a longer period of time, or try scrubbing with a bit more pressure. You may also need to repeat the process.
* Surface is Damaged: If you notice any damage to the surface, stop using the paste immediately. You may need to try a different cleaning method.
Safety Reminders (Just to be Extra Clear!)
* Ventilation is Key: Always work in a well-ventilated area.
* Protective Gear is a Must: Wear gloves and eye protection.
* Test First: Always test the cleaner in an inconspicuous area before applying it to the entire surface.
* Flammable: Mineral spirits are flammable. Keep away from heat, sparks, and open flames.
* Keep Out of Reach of Children and Pets: Store the paste and solvent in a safe place.
I hope you found this guide helpful! This baking soda and solvent cleaning paste is a powerful tool for tackling tough cleaning jobs. Just remember to use it safely and responsibly, and always test in an inconspicuous area first. Happy cleaning!
“`
Conclusion
So, there you have it! Mastering the art of solvent and baking soda cleaning is not just a clever trick; it’s a game-changer for anyone looking to tackle tough stains and grime without resorting to harsh chemicals or expensive professional services. We’ve walked you through the process, highlighting the effectiveness of this dynamic duo in breaking down stubborn messes and leaving surfaces sparkling.
But why is this DIY method a must-try? Simply put, it’s effective, affordable, and surprisingly versatile. The solvent, acting as a powerful cleaning agent, loosens the grip of grease, adhesives, and other difficult residues. Baking soda, with its mild abrasive properties and deodorizing capabilities, then steps in to gently scrub away the loosened debris and neutralize any lingering odors. Together, they create a synergistic cleaning action that’s tough on dirt but gentle on your surfaces and your wallet.
Beyond the basic method we’ve outlined, there’s plenty of room for experimentation and customization. For instance, if you’re dealing with particularly stubborn stains on fabric, consider pre-treating the area with a solvent-soaked cloth before applying the baking soda paste. For delicate surfaces, always test the solution in an inconspicuous area first to ensure it doesn’t cause any discoloration or damage. You can also adjust the ratio of solvent to baking soda to create a thicker or thinner paste, depending on the specific cleaning task at hand. Adding a few drops of your favorite essential oil to the baking soda paste can also leave a pleasant, fresh scent behind. Lavender, lemon, and tea tree oil are all excellent choices for their cleaning and deodorizing properties.
Don’t be afraid to get creative and adapt this method to suit your specific needs. The beauty of DIY cleaning is that you have complete control over the ingredients and the process. Whether you’re tackling a greasy stovetop, a stained countertop, or a grimy bathroom tile, the solvent and baking soda combination is a powerful weapon in your cleaning arsenal.
We wholeheartedly encourage you to give this DIY trick a try. You’ll be amazed at the results you can achieve with just two simple ingredients. And once you’ve experienced the cleaning power of solvent and baking soda for yourself, we’d love to hear about it! Share your experiences, tips, and variations in the comments below. Let’s build a community of DIY cleaning enthusiasts and help each other discover new and innovative ways to keep our homes sparkling clean. Your insights could be invaluable to others who are just starting out on their DIY cleaning journey. So, grab your solvent, your baking soda, and get ready to experience the satisfaction of a truly clean home!
Frequently Asked Questions (FAQ)
What types of solvents are safe to use with baking soda?
Choosing the right solvent is crucial for both safety and effectiveness. Isopropyl alcohol (rubbing alcohol) is a popular and readily available option that works well for many cleaning tasks. It’s effective at dissolving grease, grime, and some adhesives. Mineral spirits are another option, particularly useful for removing oil-based paints and varnishes. However, mineral spirits have a stronger odor and require better ventilation. Always read the safety instructions on the solvent container before use. Avoid using harsh solvents like acetone or lacquer thinner, as they can be too aggressive for some surfaces and pose a greater health risk. When in doubt, test the solvent in an inconspicuous area first to ensure it doesn’t damage the surface. Remember to always work in a well-ventilated area when using solvents.
Can I use this method on all surfaces?
While the solvent and baking soda combination is generally safe for many surfaces, it’s essential to exercise caution and test before applying it to the entire area. Avoid using this method on delicate or porous surfaces like unfinished wood, natural stone (marble, granite), or certain types of fabrics. The solvent could potentially damage or discolor these materials. Always test the solution in a small, hidden area first to ensure it doesn’t cause any adverse effects. If you’re unsure about the suitability of this method for a particular surface, consult the manufacturer’s instructions or seek professional advice.
What safety precautions should I take when using solvents and baking soda?
Safety should always be your top priority when working with solvents. Always wear gloves to protect your skin from irritation or chemical burns. Work in a well-ventilated area to avoid inhaling solvent fumes. If you’re using a solvent with a strong odor, consider wearing a respirator mask. Keep solvents away from heat, sparks, and open flames, as they are often flammable. Store solvents in a safe place, out of reach of children and pets. Never mix solvents with other cleaning products, as this could create dangerous chemical reactions. Dispose of used solvent-soaked cloths properly, following local regulations.
How do I make a baking soda paste with solvent?
The ideal consistency of the baking soda paste will depend on the specific cleaning task. For general cleaning, start with a ratio of approximately 2 parts baking soda to 1 part solvent. Gradually add the solvent to the baking soda, mixing until you achieve a thick, spreadable paste. If the paste is too thick, add a little more solvent. If it’s too thin, add more baking soda. For more abrasive cleaning, you can use a higher concentration of baking soda. For delicate surfaces, use a thinner paste with a higher concentration of solvent. Remember to test the paste in an inconspicuous area first to ensure it doesn’t damage the surface.
What if the stain is still there after using the solvent and baking soda?
Sometimes, stubborn stains may require multiple treatments. If the stain persists after the initial application, repeat the process, allowing the baking soda paste to sit on the stain for a longer period of time (up to an hour) before scrubbing. You can also try using a slightly more concentrated solvent or a more abrasive scrubbing tool. For particularly difficult stains, consider consulting a professional cleaning service. It’s also important to identify the type of stain to determine the most effective cleaning approach. Different types of stains respond differently to various cleaning agents.
Can I use this method to remove rust?
While solvent and baking soda can help loosen rust, it’s not the most effective solution for removing heavy rust buildup. For rust removal, consider using a dedicated rust remover or a solution of vinegar and baking soda. Vinegar is acidic and helps dissolve rust, while baking soda acts as a mild abrasive to scrub away the loosened rust. You can also use a wire brush or steel wool to remove stubborn rust. Always wear gloves and eye protection when working with rust removers.
How do I dispose of the used solvent and baking soda mixture?
Proper disposal of the used solvent and baking soda mixture is important for environmental safety. Allow the solvent to evaporate completely from the baking soda paste in a well-ventilated area. Once the solvent has evaporated, you can dispose of the baking soda in your regular trash. Never pour solvents down the drain, as this can contaminate the water supply. If you have a large amount of used solvent, contact your local waste management facility for proper disposal instructions. Some facilities offer hazardous waste disposal programs for solvents and other chemicals.
Is there a difference between cleaning solvent and other types of solvents?
Yes, there is a significant difference. “Cleaning solvent” is a broad term, but in this context, we’re referring to solvents specifically designed for cleaning purposes, like isopropyl alcohol or mineral spirits. Industrial solvents, on the other hand, are often much stronger and more hazardous, intended for specific industrial applications. Avoid using industrial solvents for household cleaning, as they can pose serious health risks and damage surfaces. Always choose a cleaning solvent that is appropriate for the task at hand and follow the manufacturer’s instructions carefully.
Leave a Comment