
Time Saving Cleaning Hacks – who doesn’t want more of those in their life? I know I do! Let’s face it, cleaning isn’t exactly anyone’s favorite pastime. We’d all rather be spending our precious free time pursuing hobbies, relaxing with loved ones, or simply enjoying a good book. But a clean home is a happy home, right? And that’s where these brilliant DIY cleaning tricks come in.
For centuries, people have been devising clever ways to streamline household chores. Think about it – our grandmothers and great-grandmothers didn’t have the plethora of cleaning products we have today. They relied on ingenuity and readily available ingredients like vinegar, baking soda, and lemon to keep their homes sparkling. These time-tested methods are not only effective but also often more eco-friendly and budget-friendly than their modern counterparts.
In today’s fast-paced world, finding time saving cleaning hacks is more crucial than ever. We’re constantly juggling work, family, and social commitments, leaving little room for tedious tasks. That’s why I’ve compiled a collection of my favorite DIY cleaning tricks that will help you conquer your cleaning to-do list in record time. From quick kitchen clean-up solutions to bathroom blitzing strategies, these hacks will transform your cleaning routine from a dreaded chore into a manageable and even (dare I say?) enjoyable activity. Get ready to reclaim your weekends and enjoy a sparkling clean home without sacrificing your precious time!
Time-Saving Cleaning Hacks: Reclaim Your Weekend!
Okay, let’s be honest, nobody *really* enjoys cleaning. But it’s a necessary evil, right? So, instead of dreading it, let’s tackle it head-on with some seriously effective time-saving cleaning hacks. I’ve personally tested these, and they’ve made a HUGE difference in my cleaning routine. Get ready to reclaim your weekends!
Hack 1: The Microwave Deep Clean (Without the Elbow Grease!)
This is one of my absolute favorites. Microwaves can get *nasty* fast, and scrubbing them is the worst. This hack uses the power of steam to loosen all that stuck-on food.
What You’ll Need:
* 1 cup of water
* 1/4 cup of white vinegar
* Microwave-safe bowl
* Clean sponge or cloth
Step-by-Step Instructions:
1. Mix the Solution: In your microwave-safe bowl, combine the water and white vinegar. The vinegar smell might be a little strong, but trust me, it’s worth it!
2. Microwave Magic: Place the bowl in the microwave and heat on high for 5-7 minutes. You want the solution to boil and create a good amount of steam.
3. Steam Soak: Leave the microwave door closed for another 2-3 minutes after it stops. This allows the steam to really penetrate and loosen the grime.
4. Wipe Away the Mess: Carefully remove the bowl (it will be hot!). Use your sponge or cloth to easily wipe away all the loosened food particles. You’ll be amazed at how easily everything comes off!
5. Final Touches: For any stubborn spots, you might need a little extra elbow grease, but it should be minimal. Wipe down the inside of the door and the turntable.
Hack 2: Sparkling Showerhead in Minutes (No Disassembly Required!)
Hard water deposits can really clog up a showerhead, reducing water pressure and making your shower less enjoyable. This hack is super simple and requires no tools!
What You’ll Need:
* Plastic bag (sandwich bag or larger, depending on your showerhead size)
* White vinegar
* Rubber band or twist tie
Step-by-Step Instructions:
1. Vinegar Bath: Fill the plastic bag with enough white vinegar to completely submerge the showerhead.
2. Secure the Bag: Carefully attach the bag to the showerhead, making sure the showerhead is fully immersed in the vinegar. Use a rubber band or twist tie to secure the bag tightly.
3. Soak Time: Let the showerhead soak in the vinegar for at least 30 minutes, or even better, overnight. The longer it soaks, the more the mineral deposits will dissolve.
4. Rinse and Shine: Remove the bag and run the shower for a few minutes to flush out any remaining vinegar and loosened deposits.
5. Check for Stubborn Spots: If you still see some stubborn deposits, you can use an old toothbrush to gently scrub them away.
Hack 3: Blinds Cleaning Made Easy (Goodbye Dust!)
Cleaning blinds can be a real pain. This hack uses an old sock to create a handy duster.
What You’ll Need:
* Old sock (clean, of course!)
* White vinegar and water solution (equal parts)
* Spray bottle (optional)
Step-by-Step Instructions:
1. Prepare the Sock: Dampen the sock with the vinegar and water solution. You can either spray the solution directly onto the sock or dip the sock into a bowl of the solution. Make sure the sock is damp, not soaking wet.
2. Blind Cleaning Time: Slip the sock onto your hand like a glove. Use your fingers to pinch each slat of the blind and wipe away the dust.
3. Rinse and Repeat: If the sock gets too dirty, rinse it out with clean water and re-dampen it with the vinegar and water solution.
4. Dry the Blinds: Once you’ve cleaned all the blinds, you can use a dry cloth to wipe them down and remove any excess moisture.
Hack 4: Garbage Disposal Refresh (No More Stinky Sink!)
Garbage disposals can get pretty gross and smelly. This hack uses citrus and ice to clean and freshen it up.
What You’ll Need:
* Citrus peels (lemon, lime, orange – any combination works!)
* Ice cubes
* Water
Step-by-Step Instructions:
1. Ice and Citrus: Fill the garbage disposal with ice cubes and a handful of citrus peels.
2. Grind Away: Turn on the cold water and run the garbage disposal until all the ice and citrus peels are ground up. The ice helps to scrub the disposal blades, while the citrus peels release their natural oils, which help to deodorize and freshen the disposal.
3. Flush it Out: Continue running the cold water for another minute or two to flush out any remaining debris.
Hack 5: Mattress Refresh (Banish Odors and Dust Mites!)
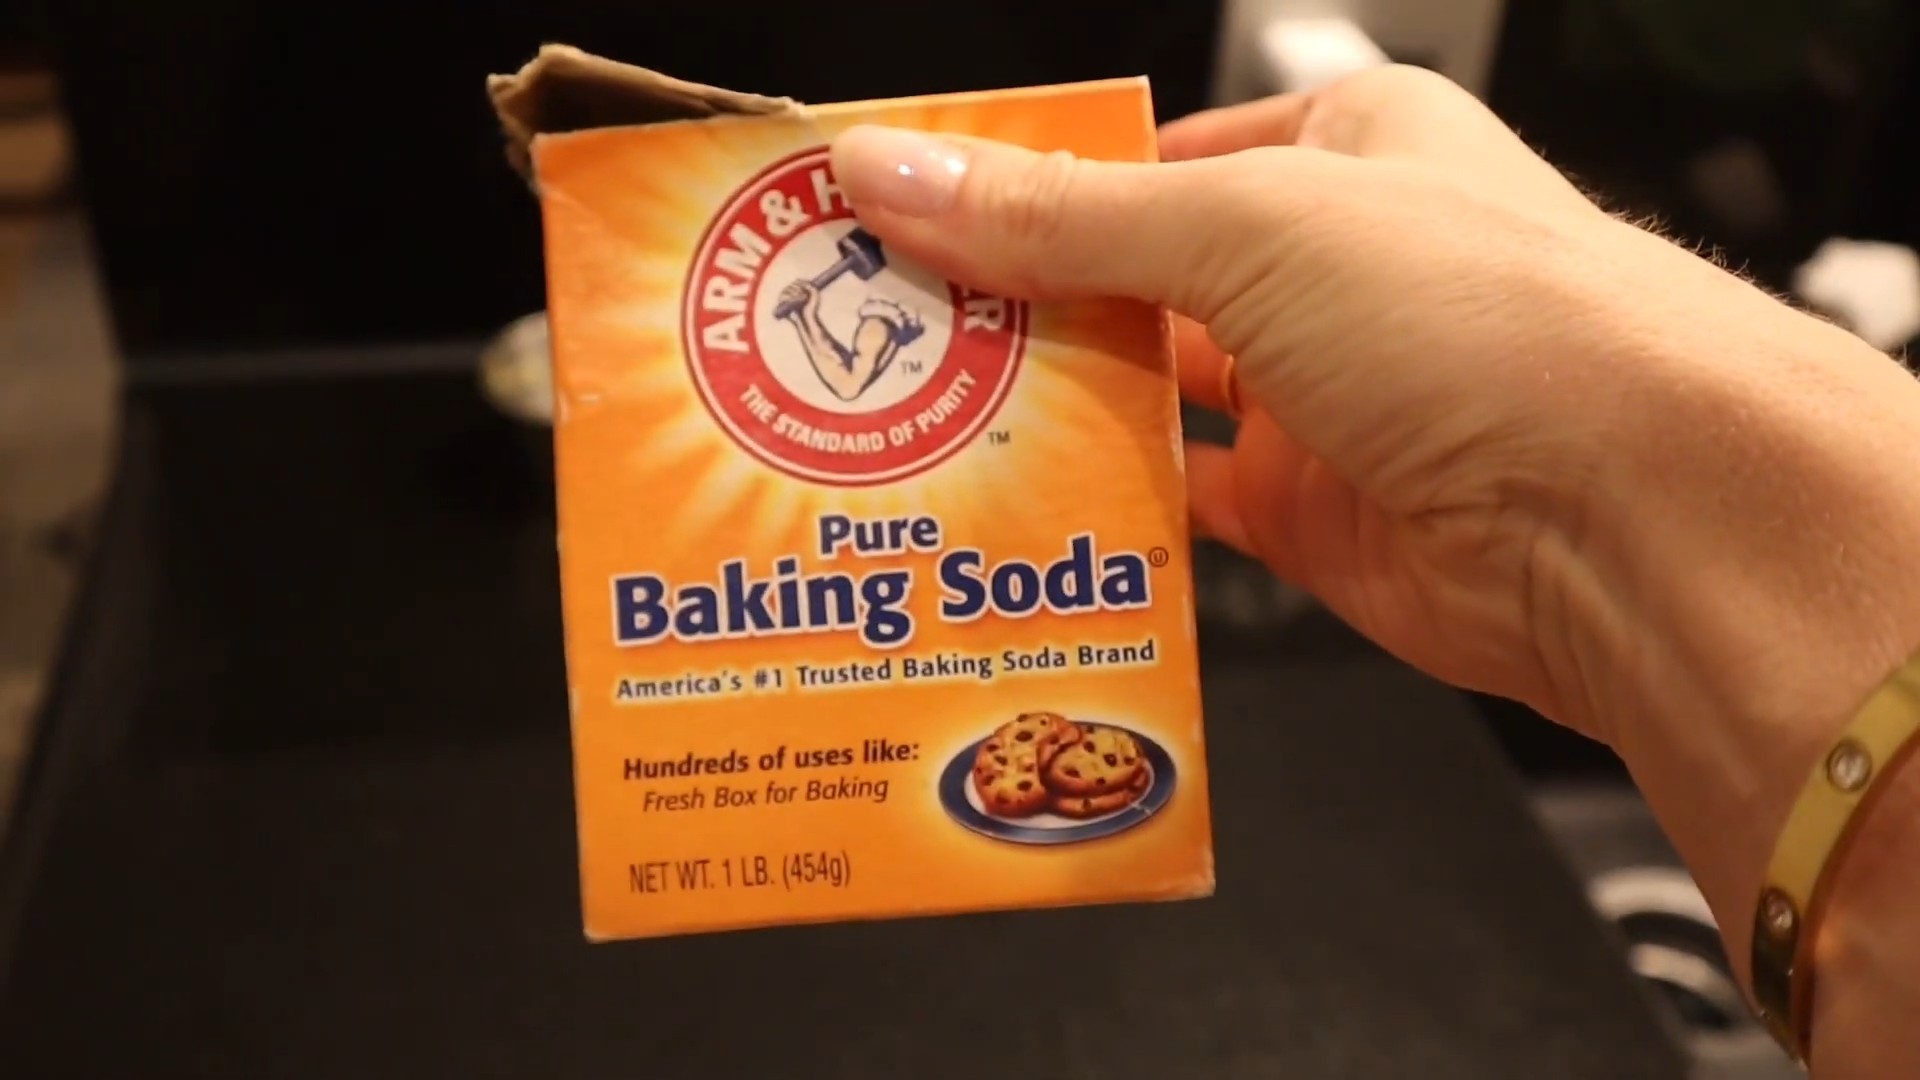
We spend a third of our lives in bed, so keeping our mattresses clean is essential. This hack uses baking soda to absorb odors and kill dust mites.
What You’ll Need:
* Baking soda
* Sieve or strainer
* Vacuum cleaner with upholstery attachment
* Essential oil (optional, for added fragrance)
Step-by-Step Instructions:
1. Strip the Bed: Remove all bedding, including sheets, blankets, and pillows. Wash them in hot water to kill any dust mites.
2. Baking Soda Blanket: Sprinkle a generous layer of baking soda over the entire surface of the mattress. Use a sieve or strainer to ensure an even distribution.
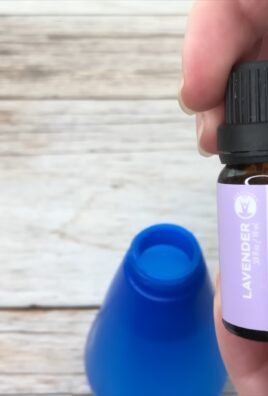
3. Essential Oil Boost (Optional): If you want to add a pleasant fragrance, you can mix a few drops of your favorite essential oil (like lavender or eucalyptus) with the baking soda before sprinkling it on the mattress.
4. Wait and Absorb: Let the baking soda sit on the mattress for at least 30 minutes, or even better, for several hours. The longer it sits, the more odors and moisture it will absorb.
5. Vacuum Thoroughly: Use the upholstery attachment of your vacuum cleaner to thoroughly vacuum the entire surface of the mattress, removing all the baking soda. Make sure to get into all the crevices and seams.
6. Flip and Repeat: Flip the mattress over and repeat the process on the other side.
Hack 6: Streak-Free Stainless Steel (Say Goodbye to Fingerprints!)
Stainless steel appliances look great, but they’re notorious for showing fingerprints and streaks. This hack uses olive oil to create a protective barrier and leave your appliances sparkling.
What You’ll Need:
* Microfiber cloth
* White vinegar
* Olive oil
Step-by-Step Instructions:
1. Clean with Vinegar: Lightly dampen a microfiber cloth with white vinegar and wipe down the stainless steel surface to remove any dirt and grime.
2. Dry Thoroughly: Use a clean, dry microfiber cloth to thoroughly dry the surface.
3. Olive Oil Polish: Put a very small amount of olive oil on a clean microfiber cloth. A little goes a long way!
4. Buff and Shine: Gently buff the olive oil into the stainless steel surface, following the grain.
5. Remove Excess Oil: Use a clean section of the microfiber cloth to remove any excess olive oil. The surface should be shiny and streak-free.
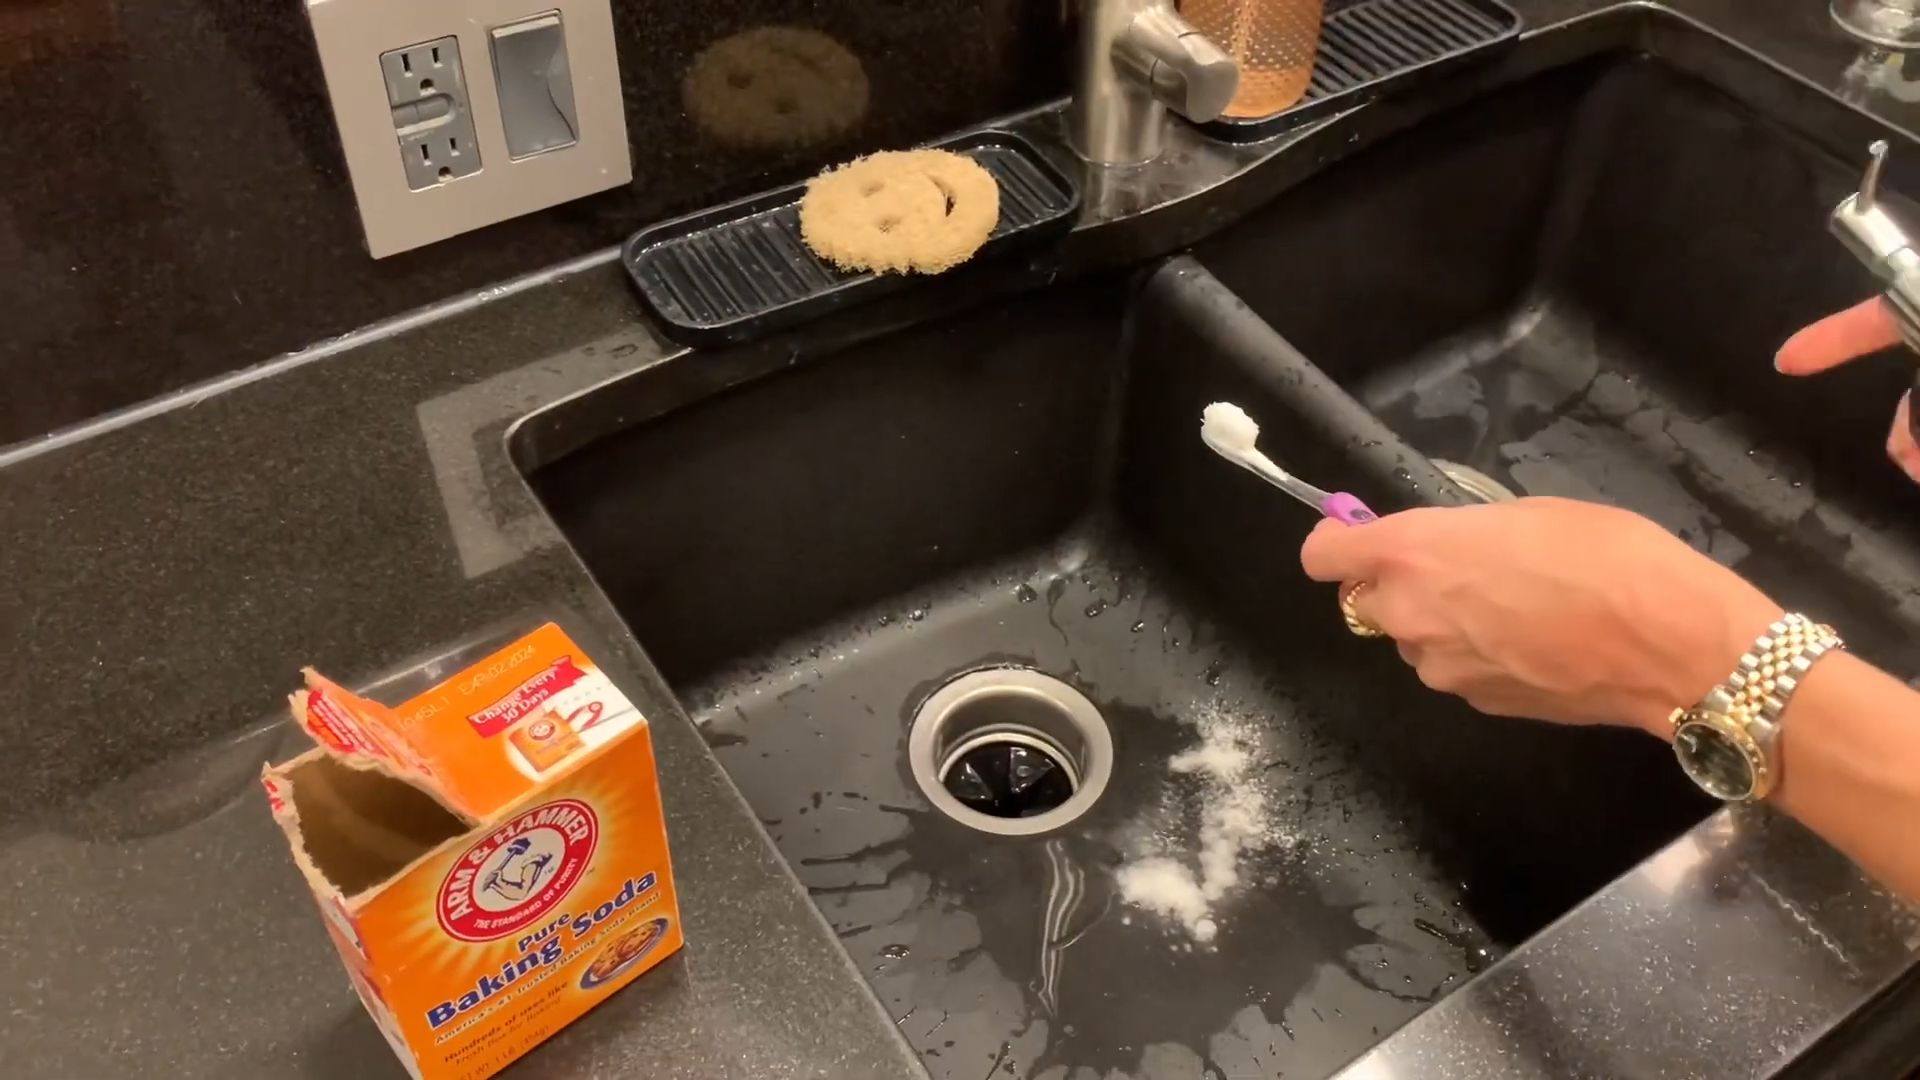
Hack 7: Grout Cleaning Power (Brighten Up Your Tiles!)
Dirty grout can make even the cleanest tiles look dingy. This hack uses baking soda and vinegar to lift stains and brighten grout lines.
What You’ll Need:
* Baking soda
* White vinegar
* Old toothbrush or grout brush
* Spray bottle
Step-by-Step Instructions:
1. Baking Soda Paste: Make a paste of baking soda and water.
2. Apply the Paste: Apply the baking soda paste to the grout lines.
3. Vinegar Power: Pour or spray white vinegar onto the baking soda paste. It will fizz!
4. Scrub-a-dub-dub: Let the mixture sit for a few minutes, then scrub the grout lines with an old toothbrush or grout brush.
5. Rinse and Repeat: Rinse the area with clean water. Repeat if necessary for stubborn stains.
Hack 8: Dust-Repelling Furniture Polish (Keep Dust at Bay!)
This DIY furniture polish not only cleans and shines your furniture but also helps to repel dust, keeping your home cleaner for longer.
What You’ll Need:
* 1/4 cup olive oil
* 1/
Conclusion
So, there you have it! These time-saving cleaning hacks aren’t just about making your life easier; they’re about reclaiming your precious time and energy. Imagine spending less time scrubbing and more time doing the things you truly enjoy. From the effortless oven cleaning to the sparkling shower spray, these DIY solutions are designed to be effective, affordable, and, most importantly, simple to implement.
Why is this a must-try? Because it works! We’ve all been there, staring down a mountain of cleaning tasks, feeling overwhelmed and defeated. These hacks cut through the clutter and offer practical, real-world solutions that deliver noticeable results. Plus, you’re likely already have most of the ingredients in your pantry, making it a budget-friendly alternative to expensive store-bought cleaners.
But don’t just take our word for it. We encourage you to experiment and find what works best for you. For instance, if you’re dealing with particularly stubborn grime in your oven, try adding a tablespoon of baking soda to your vinegar and water paste for an extra boost. Or, if you prefer a different scent for your shower spray, feel free to swap out the essential oils for your favorite fragrance. Lavender, tea tree, and eucalyptus are all excellent choices with their own unique cleaning and aromatherapy benefits.
The beauty of these time-saving cleaning hacks lies in their adaptability. They’re not rigid rules, but rather flexible guidelines that you can tailor to your specific needs and preferences.
We’re confident that once you try these cleaning hacks, you’ll wonder how you ever lived without them. They’re a game-changer for anyone looking to streamline their cleaning routine and free up valuable time.
So, go ahead, give them a try! We’re eager to hear about your experiences. Share your before-and-after photos, your favorite variations, and any other tips you discover along the way in the comments below. Let’s create a community of clean-living enthusiasts who are passionate about saving time and making their homes sparkle! Embrace these time saving cleaning hacks and transform your cleaning routine from a chore into a breeze.
Frequently Asked Questions (FAQs)
Q: Are these cleaning hacks safe for all surfaces?
A: While most of these hacks are generally safe for common household surfaces, it’s always a good idea to test them in an inconspicuous area first, especially on delicate materials like marble, granite, or wood. Vinegar, in particular, can be acidic and may damage certain surfaces. For example, avoid using vinegar on natural stone countertops as it can etch the surface. When in doubt, consult the manufacturer’s instructions for your specific surfaces. For wooden furniture, a mixture of olive oil and lemon juice is often a safer alternative to harsher chemicals. Always err on the side of caution and test before applying liberally.
Q: Can I use different essential oils in the shower spray?
A: Absolutely! The essential oils in the shower spray are primarily for fragrance and added antibacterial properties. Feel free to experiment with different scents to find your favorite blend. Lavender is known for its calming properties, tea tree oil is a powerful antiseptic, and eucalyptus can help clear sinuses. Citrus oils like lemon and orange can also be used for a refreshing and invigorating scent. Just be sure to use pure essential oils and avoid synthetic fragrances, which may contain harmful chemicals. A good starting point is around 10-20 drops of essential oil per spray bottle, but you can adjust the amount to your preference.
Q: How often should I use the shower spray?
A: For best results, use the shower spray after each shower. This will help prevent the buildup of soap scum and mildew, making it easier to keep your shower clean. Simply spray the walls, door, and fixtures after you’re finished showering, and let it air dry. If you have a particularly humid bathroom, you may want to squeegee the surfaces after spraying to further prevent moisture buildup. Even if you don’t use it after every shower, regular use (2-3 times per week) will still make a significant difference in keeping your shower clean.
Q: What if I don’t have all the ingredients for a specific hack?
A: The beauty of these DIY cleaning hacks is that they’re often adaptable. If you’re missing an ingredient, try substituting it with something similar. For example, if you don’t have white vinegar, you can try using lemon juice as a substitute. If you don’t have baking soda, you can try using washing soda (sodium carbonate) instead. However, keep in mind that the results may vary depending on the substitution. If you’re unsure about a particular substitution, it’s always best to do a little research or test it in an inconspicuous area first.
Q: Are these cleaning hacks environmentally friendly?
A: Yes, these cleaning hacks are generally more environmentally friendly than using conventional store-bought cleaners. They rely on natural ingredients like vinegar, baking soda, and essential oils, which are biodegradable and less harmful to the environment. By making your own cleaning products, you’re also reducing your reliance on plastic packaging and potentially harmful chemicals that can pollute waterways. However, it’s important to dispose of any leftover cleaning solutions properly and to use sustainable cleaning tools like reusable cloths and sponges.
Q: How long will these cleaning solutions last?
A: Most of these DIY cleaning solutions will last for several weeks or even months if stored properly. Store them in airtight containers in a cool, dark place to prevent them from degrading. For example, the shower spray should be stored in a spray bottle away from direct sunlight. The oven cleaning paste can be stored in a sealed container in your pantry. If you notice any changes in color, odor, or consistency, it’s best to discard the solution and make a fresh batch. It’s also a good idea to label your containers with the date you made the solution so you can keep track of how long it’s been stored.
Q: Can I use these hacks if I have allergies or sensitivities?
A: If you have allergies or sensitivities, it’s important to be cautious when using any new cleaning products, even natural ones. Always read the ingredient list carefully and avoid using any ingredients that you know you’re allergic to. If you’re unsure, test the solution in a small, inconspicuous area first and wait 24 hours to see if you have any reaction. You may also want to wear gloves and a mask when cleaning to minimize your exposure to potential allergens. If you experience any adverse reactions, discontinue use immediately and consult with a doctor or allergist.
Q: What are some other time saving cleaning hacks I can try?
A: Besides the ones mentioned in the article, there are many other time saving cleaning hacks you can try. For example, you can use a microfiber duster to quickly dust furniture and surfaces. You can also use a vacuum cleaner with a hose attachment to clean hard-to-reach areas like ceiling fans and baseboards. Another great hack is to use a dishwasher to clean items like sponges, scrub brushes, and even some toys. Finally, don’t underestimate the power of decluttering. The less clutter you have, the less time you’ll spend cleaning!
Leave a Comment