
Tomato care tips are essential for anyone dreaming of vine-ripened, juicy tomatoes bursting with flavor straight from their backyard. Imagine biting into a sun-warmed tomato, the taste a world away from the bland, store-bought variety. That dream can be a reality, and it’s easier than you think! For centuries, tomatoes have been a staple in cuisines around the globe, from the vibrant sauces of Italy to the refreshing salsas of Mexico. Originally cultivated in South America, these little red (and sometimes yellow, green, or even purple!) gems have become a symbol of summer and fresh, homegrown goodness.
But let’s be honest, growing tomatoes can sometimes feel like a battle. Pests, diseases, and unpredictable weather can all conspire to ruin your harvest. That’s where these DIY tomato care tips come in! I’m going to share some simple, yet effective, hacks that will help you nurture your tomato plants from tiny seedlings to bountiful producers. Whether you’re a seasoned gardener or just starting out, these tips will empower you to grow the best tomatoes you’ve ever tasted. Get ready to roll up your sleeves and transform your garden into a tomato paradise!

DIY Tomato Cage Upgrade: From Flimsy to Fantastic!
Okay, tomato lovers, let’s be honest. Those flimsy wire tomato cages you buy at the garden center? They’re practically useless once your tomato plants start producing. They buckle, they bend, and your poor tomatoes end up sprawling all over the ground. I’ve been there, done that, and I’m here to tell you there’s a better way! This DIY tomato cage upgrade will give your plants the support they need to thrive, resulting in a bigger, better harvest. Trust me, your tomatoes (and your back!) will thank you.
Why Upgrade Your Tomato Cages?
Before we dive into the how-to, let’s quickly cover why this upgrade is so important.
* Stronger Support: Store-bought cages simply aren’t strong enough for mature tomato plants, especially indeterminate varieties that can grow incredibly tall and heavy.
* Prevents Breakage: A sturdy cage prevents branches from breaking under the weight of the fruit, which can significantly reduce your yield.
* Improved Air Circulation: A well-supported plant allows for better air circulation, reducing the risk of fungal diseases.
* Easier Harvesting: No more crawling around on the ground to find ripe tomatoes! A strong cage keeps the plant upright and accessible.
* Longevity: This upgraded cage will last for years, saving you money in the long run.
Materials You’ll Need
Here’s what you’ll need to build your super-strong tomato cages:
* Existing Wire Tomato Cages: We’re upgrading, not replacing! You’ll need the basic structure of the original cages.
* Concrete Reinforcement Mesh (Remesh): This is the key ingredient! Remesh is a heavy-duty welded wire mesh used in concrete construction. You can find it at most home improvement stores. A single sheet is usually quite large, so you might want to split the cost with a neighbor or friend.
* Bolt Cutters: Essential for cutting the remesh. Safety glasses are a must!
* Heavy-Duty Gloves: Protect your hands from the sharp edges of the remesh.
* Zip Ties (Heavy-Duty): For securing the remesh to the existing cage. Choose UV-resistant zip ties for longer life.
* Measuring Tape: To ensure accurate cuts.
* Safety Glasses: Always protect your eyes when working with metal.
* Optional: Metal Stakes or Rebar: For extra support, especially in windy areas.
Phase 1: Preparing the Remesh
This is where the real work begins, but don’t worry, it’s not as daunting as it sounds!
1. Measure Your Existing Cages: Use your measuring tape to determine the height and circumference of your existing tomato cages. You’ll need this information to cut the remesh to the correct size. I usually add a few extra inches to the height to give the tomatoes room to grow.
2. Determine Remesh Size: Decide how much of the existing cage you want to reinforce. I usually reinforce the entire cage for maximum support. This means the remesh should be tall enough to cover the height of the cage and wide enough to wrap around its circumference.
3. Cutting the Remesh: This is the most important (and potentially tricky) step. Lay the remesh flat on a solid surface (like a driveway or patio). Using your bolt cutters, carefully cut the remesh to the dimensions you determined in the previous step. Always wear safety glasses and gloves! Cut one wire at a time, and be mindful of the sharp edges. I find it helpful to mark the cutting lines with a permanent marker beforehand.
4. Smoothing the Edges: After cutting, the edges of the remesh will be sharp and potentially dangerous. Use your bolt cutters to trim any protruding wires and smooth out the edges as much as possible. You can also use a file or grinder to further smooth the edges, but this is optional.
Phase 2: Attaching the Remesh to the Existing Cage
Now comes the fun part – transforming those flimsy cages into tomato-supporting powerhouses!
1. Wrap the Remesh Around the Cage: Carefully wrap the cut piece of remesh around the outside of your existing tomato cage. Make sure the remesh is snug against the cage and that the edges overlap slightly.
2. Securing with Zip Ties: Using your heavy-duty zip ties, secure the remesh to the existing cage. Start at the top and bottom, and then work your way around the circumference, spacing the zip ties every few inches. The more zip ties you use, the stronger the connection will be. I like to use at least three zip ties per vertical section of the remesh.
3. Tighten and Trim: Once all the zip ties are in place, tighten them as much as possible. Then, use your bolt cutters or wire cutters to trim the excess length of the zip ties. This will prevent them from snagging on your clothes or plants.
4. Inspect for Sharp Edges: Give your upgraded cage a thorough inspection to make sure there are no sharp edges or protruding wires that could injure you or your plants. If you find any, use your bolt cutters or file to smooth them out.
Phase 3: Adding Extra Support (Optional)
For particularly large or heavy tomato varieties, or if you live in a windy area, you might want to add some extra support to your upgraded cages.
1. Choose Your Support Method: You can use metal stakes, rebar, or even wooden posts for extra support. I prefer metal stakes because they’re durable and easy to install.
2. Install the Stakes: Drive the stakes into the ground next to the tomato cage, spacing them evenly around the circumference. Make sure the stakes are deep enough to provide adequate support.
3. Attach the Cage to the Stakes: Use zip ties or wire to attach the tomato cage to the stakes. This will prevent the cage from tipping over in strong winds or under the weight of heavy fruit.
Tips and Tricks for Success
* Work on a Flat Surface: Cutting and assembling the remesh is much easier on a flat, stable surface.
* Use Heavy-Duty Zip Ties: Don’t skimp on the zip ties! Cheap zip ties will break easily, especially in the sun.
* Consider the Tomato Variety: If you’re growing a particularly large or vigorous tomato variety, you might need to use thicker remesh or add more support.
* Don’t Be Afraid to Experiment: This is just a guide, feel free to adapt it to your specific needs and preferences.
* Recycle and Reuse: If your existing tomato cages are too damaged to upgrade, you can still recycle the metal.
* Team Up: Working with remesh is easier with a friend. Enlist a helper to hold the remesh while you cut and assemble it.
* Pre-Soak the Ground: Before inserting the cages into the ground, give the area a good soaking. This will make it easier to push the cage legs into the soil.
* Monitor Your Plants: Keep an eye on your tomato plants as they grow and adjust the support as needed. You might need to add more zip ties or stakes as the plants get larger.
* Store Properly: At the end of the growing season, clean your upgraded tomato cages and store them in a dry place to prevent rust.
Alternative Materials
While remesh is my preferred material, here are a few alternatives you can consider:
* Hog Wire: Similar to remesh, but with larger openings. It’s a good option if you want a more open cage design.
* Cattle Panels: Very strong and durable, but also more expensive and harder to cut.
* Wooden Stakes and Twine: A more traditional method, but requires more maintenance and isn’t as strong as metal cages.
Troubleshooting
* Remesh is too difficult to cut: Make sure your bolt cutters are sharp and in good working order. You might also need to use a larger pair of bolt cutters.
* Zip ties keep breaking: Use heavier-duty zip ties or double up on the zip ties in high-stress areas.
* Cage is still wobbly: Add more stakes or rebar for extra support.
* Sharp edges are a concern: Use a file or grinder to smooth out the edges, or cover them with duct tape.
With a little effort, you can transform those flimsy wire cages into sturdy, reliable supports that will help your tomato plants thrive. Happy gardening!
Conclusion
So, there you have it! This simple yet effective DIY trick for tomato care is a game-changer for any gardener, whether you’re a seasoned pro or just starting out. We’ve shown you how easy it is to boost your tomato plants’ health and productivity with readily available materials, saving you money and reducing your reliance on potentially harmful chemicals.
Why is this a must-try? Because it directly addresses some of the most common challenges faced by tomato growers: nutrient deficiencies, blossom end rot, and overall plant vigor. By providing a slow-release source of calcium and other essential minerals right at the root zone, you’re giving your tomato plants the building blocks they need to thrive. Imagine larger, juicier, and more abundant tomatoes gracing your table – all thanks to this simple DIY solution.
But the beauty of this trick lies in its adaptability. Feel free to experiment with variations to suit your specific needs and resources. For instance, if you don’t have eggshells readily available, you can substitute them with bone meal or even crushed oyster shells, both excellent sources of calcium. You can also add a pinch of Epsom salts (magnesium sulfate) to the planting hole for an extra boost of magnesium, which is crucial for chlorophyll production and overall plant health. Consider adding a handful of compost or well-rotted manure to the planting hole along with the eggshells for an even richer nutrient profile. This will provide a slow-release source of nitrogen, phosphorus, and potassium, in addition to the calcium from the eggshells.
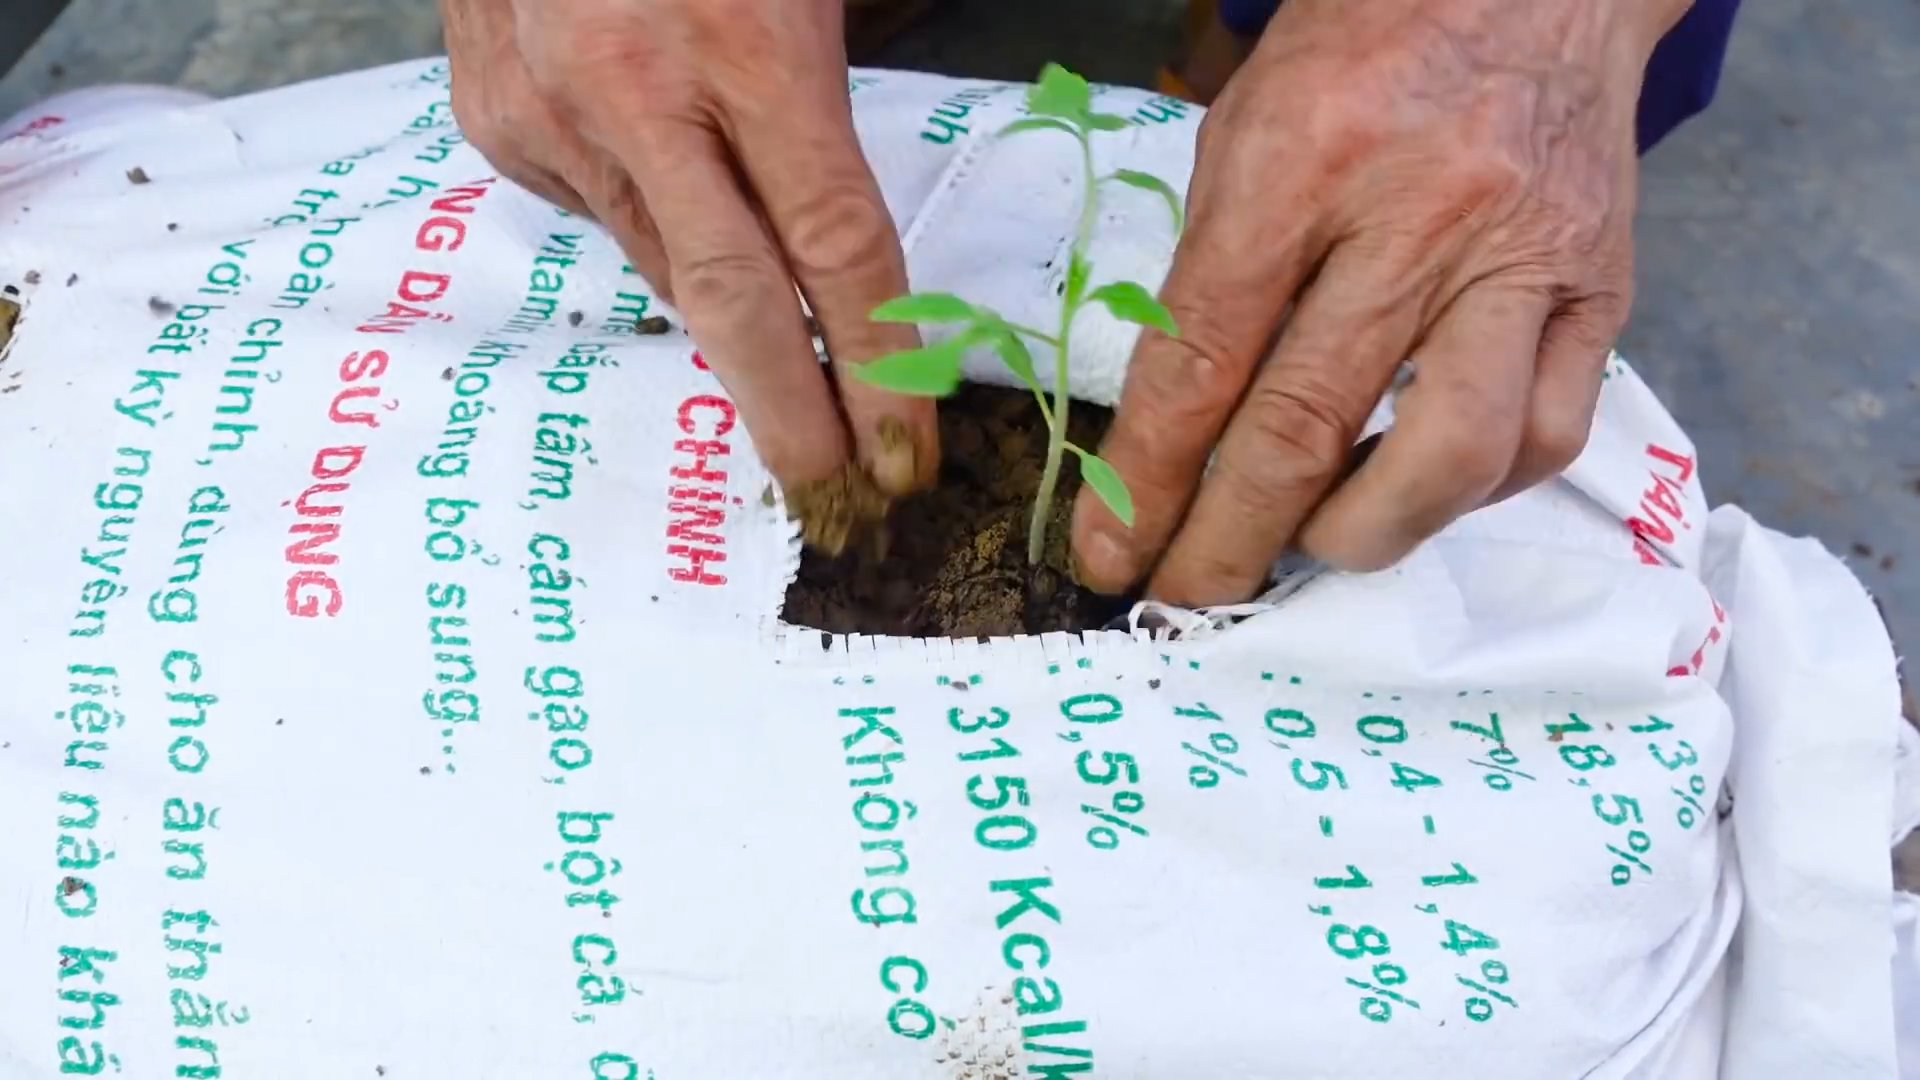
For those growing tomatoes in containers, this trick is especially beneficial. Container-grown plants are more susceptible to nutrient deficiencies due to the limited soil volume. Incorporating crushed eggshells into the potting mix will provide a sustained release of calcium, helping to prevent blossom end rot and ensure healthy fruit development. Remember to adjust the amount of eggshells based on the size of the container.
Don’t be afraid to get creative and tailor this DIY trick to your unique gardening environment. The key is to observe your plants closely and adjust your approach accordingly. Are your tomato leaves turning yellow? Perhaps they need more nitrogen. Are the fruits developing dark, sunken spots on the bottom? That’s a classic sign of blossom end rot, indicating a calcium deficiency.
We are confident that this DIY tomato care trick will make a noticeable difference in your tomato harvest. It’s a sustainable, cost-effective, and environmentally friendly way to nurture your plants and enjoy the fruits (or rather, vegetables!) of your labor.
So, what are you waiting for? Gather your eggshells, prepare your planting holes, and get ready to witness the transformative power of this simple DIY solution. We encourage you to try this trick and share your experiences with us! Let us know how it works for you, what variations you tried, and any tips you discovered along the way. Your feedback will help other gardeners benefit from this valuable knowledge and contribute to a thriving community of tomato enthusiasts. Happy gardening!
Frequently Asked Questions (FAQ)
What exactly are the benefits of using eggshells for tomato care?
Eggshells are primarily a fantastic source of calcium carbonate, which is essential for healthy tomato plant growth. Calcium plays a crucial role in cell wall development, helping to prevent blossom end rot, a common problem in tomatoes caused by calcium deficiency. Additionally, eggshells contain trace amounts of other beneficial minerals like potassium and magnesium, contributing to overall plant vigor and disease resistance. By providing a slow-release source of calcium, eggshells help ensure that your tomato plants have a steady supply of this vital nutrient throughout the growing season.
How many eggshells should I use per tomato plant?
A good starting point is to use the crushed shells from about 2-3 eggs per tomato plant. However, this can vary depending on the size of your planting hole and the overall health of your soil. For larger planting holes or plants that are showing signs of calcium deficiency, you can increase the amount slightly. Conversely, if you have very rich soil, you may need to use fewer eggshells. It’s always best to err on the side of caution and observe your plants closely for any signs of nutrient imbalances.
How do I prepare the eggshells for use?
The best way to prepare eggshells is to thoroughly rinse them after use to remove any remaining egg residue. This will help prevent them from attracting pests or developing unpleasant odors. Once rinsed, allow the eggshells to dry completely. After they are dry, crush them into small pieces. You can do this by hand, using a mortar and pestle, or even placing them in a plastic bag and crushing them with a rolling pin. The smaller the pieces, the faster they will break down in the soil and release their nutrients. Some gardeners even grind the eggshells into a fine powder for even quicker absorption.
When is the best time to add eggshells to my tomato plants?
The ideal time to add eggshells is when you are planting your tomato seedlings or transplants. Incorporate the crushed eggshells into the bottom of the planting hole, mixing them with the surrounding soil. This will ensure that the roots have direct access to the calcium as they grow. You can also add eggshells as a side dressing later in the season if you notice signs of calcium deficiency, such as blossom end rot. Simply sprinkle the crushed eggshells around the base of the plant and gently work them into the soil.
Can I use eggshells for other plants besides tomatoes?
Yes, eggshells can be beneficial for a variety of other plants that require calcium, such as peppers, eggplants, and squash. They can also be used to improve the soil structure and drainage in general. Acid-loving plants like blueberries and azaleas may not benefit as much from eggshells, as the calcium carbonate can raise the soil pH.
Will eggshells attract pests to my garden?
Properly prepared eggshells (rinsed and dried) are unlikely to attract pests. However, if you leave eggshells with egg residue on them, they may attract rodents or other unwanted visitors. To minimize the risk of pests, always rinse the eggshells thoroughly and crush them into small pieces before adding them to your garden.
How long does it take for eggshells to decompose in the soil?
Eggshells decompose relatively slowly in the soil, which is why they provide a slow-release source of calcium. The rate of decomposition depends on several factors, including the size of the eggshell pieces, the soil pH, and the moisture content. Finely ground eggshells will decompose faster than larger pieces. Acidic soils will also promote faster decomposition. Generally, it can take several months to a year for eggshells to fully break down in the soil.
Can I use eggshells in compost?
Absolutely! Eggshells are a great addition to your compost pile. They add valuable calcium and other minerals to the compost, enriching its nutrient content. The composting process will also help break down the eggshells, making their nutrients more readily available to plants when you use the compost in your garden.
What if I don’t have enough eggshells? Are there any alternatives?
If you don’t have enough eggshells, you can use other sources of calcium, such as bone meal, crushed oyster shells, or agricultural lime. Bone meal is a good source of both calcium and phosphorus, while crushed oyster shells are primarily calcium carbonate. Agricultural lime is also a good source of calcium, but it can raise the soil pH, so it’s important to use it cautiously.
My tomatoes are already showing signs of blossom end rot. Can eggshells still help?
Yes, adding eggshells can still help, but it’s important to address the problem quickly. In addition to adding crushed eggshells to the soil, you can also use a foliar spray of calcium chloride to provide a more immediate source of calcium to the plant. Make sure to water your tomato plants regularly and consistently, as drought stress can exacerbate blossom end rot.
Leave a Comment