
Vinegar and Salt Cleaning: Sounds like a recipe for disaster, right? Wrong! It’s actually a powerhouse duo for tackling some of the toughest cleaning challenges around your home. Forget those expensive, chemical-laden cleaners – we’re going back to basics with a DIY cleaning solution that’s both effective and surprisingly eco-friendly.
For generations, vinegar and salt have been used as natural remedies and cleaning agents. Think about it – our grandmothers probably knew this trick! Before the age of mass-produced cleaning products, these readily available ingredients were staples in every household. They represent a time when resourcefulness and natural solutions were the norm.
But why should you, in this modern age, bother with vinegar and salt cleaning? Well, for starters, it’s incredibly cost-effective. You likely already have these ingredients in your pantry! More importantly, it’s a safer alternative to harsh chemicals that can irritate your skin, harm your pets, and pollute the environment. I’m always looking for ways to reduce my exposure to harmful chemicals, and this is one of my favorite go-to solutions. Plus, it’s surprisingly versatile. From removing stubborn stains to polishing metal, this simple mixture can handle a wide range of cleaning tasks. So, let’s dive in and discover the amazing cleaning power of vinegar and salt!

DIY Power Cleaner: Vinegar and Salt for a Sparkling Home
Hey everyone! I’m so excited to share one of my favorite DIY cleaning hacks with you: using vinegar and salt! It’s seriously a game-changer for tackling tough stains and grime around the house. Plus, it’s super affordable and eco-friendly. Forget those harsh chemicals – let’s get cleaning with ingredients you probably already have in your pantry!
Why Vinegar and Salt?
Before we dive in, let’s talk about why this dynamic duo works so well. Vinegar, thanks to its acetic acid, is a natural disinfectant and degreaser. It’s fantastic for cutting through grease, dissolving mineral deposits (like hard water stains), and even killing some bacteria. Salt, on the other hand, acts as a gentle abrasive. It helps to scrub away stubborn dirt and grime without scratching most surfaces. Together, they create a powerful cleaning solution that’s surprisingly versatile.
What You’ll Need
* White Vinegar
* Table Salt (or Kosher Salt)
* Spray Bottle (for general cleaning)
* Cleaning Cloths or Sponges
* Old Toothbrush (for scrubbing grout and tight spaces)
* Gloves (optional, but recommended if you have sensitive skin)
* Small Bowl (for paste mixtures)
* Kettle or Microwave (for heating vinegar, optional)
General Cleaning Spray: Vinegar and Salt Power
This is my go-to for everyday cleaning. It’s perfect for countertops, sinks, showers, and even windows (though you might want to dilute it a bit more for windows to avoid streaks).
Step 1: Prepare the Vinegar Solution
I usually heat my vinegar slightly in the microwave (about 30 seconds) or in a kettle. Heating it up makes it even more effective at cutting through grease and grime. But this is optional! You can use it cold straight from the bottle. Just be careful not to overheat it in the microwave – you don’t want it boiling over!
Step 2: Mix the Solution
Pour the warm (or cold) vinegar into your spray bottle. Add about a tablespoon of salt per cup of vinegar. The salt will dissolve better in warm vinegar, so give it a good shake to help it along. I usually use a ratio of 1 cup vinegar to 1 tablespoon salt, but you can adjust it based on how tough the cleaning job is.
Step 3: Shake Well
Make sure the salt is fully dissolved before you start spraying. Give the bottle a good shake for about 30 seconds.
Step 4: Spray and Wipe
Spray the solution onto the surface you want to clean. Let it sit for a few minutes to allow the vinegar and salt to work their magic. Then, wipe it clean with a damp cloth or sponge. For tougher stains, you might need to scrub a little.
Step 5: Rinse (If Necessary)
If you’re cleaning a surface that comes into contact with food, like a countertop, I recommend rinsing it with clean water after wiping it down. This will remove any lingering vinegar smell (which, by the way, dissipates quickly!).
Tackling Tough Stains: Vinegar and Salt Paste
For really stubborn stains, like baked-on food in the oven or rust on metal, a vinegar and salt paste is the way to go. The abrasive action of the salt combined with the dissolving power of the vinegar creates a powerful cleaning force.
Step 1: Create the Paste
In a small bowl, mix together vinegar and salt until you form a thick paste. I usually start with about a quarter cup of salt and add vinegar a little at a time until I get the right consistency. You want it to be thick enough to stick to the surface you’re cleaning.
Step 2: Apply the Paste
Apply the paste directly to the stain. Make sure to cover the entire area.
Step 3: Let it Sit
This is the key! Let the paste sit on the stain for at least 30 minutes, or even longer for really tough stains. I’ve left it on overnight before with great results. The longer it sits, the more time the vinegar and salt have to break down the stain.
Step 4: Scrub
After letting the paste sit, it’s time to scrub. Use a cleaning cloth, sponge, or old toothbrush to scrub the area. You might need to put some elbow grease into it, but the paste should have loosened the stain considerably.
Step 5: Rinse Thoroughly
Rinse the area thoroughly with clean water to remove all traces of the paste. You might need to wipe it down a few times to get rid of any lingering salt residue.
Specific Cleaning Applications
Let’s get into some specific areas where vinegar and salt can really shine.
Cleaning Grout
Grout can be a real pain to clean. It’s porous and easily absorbs dirt and grime. But vinegar and salt can help!
1. Make a paste of vinegar and salt.
2. Apply the paste to the grout lines.
3. Let it sit for at least 30 minutes.
4. Scrub with an old toothbrush.
5. Rinse with water.
For really stubborn grout stains, you can try adding a little baking soda to the paste.
Removing Hard Water Stains
Hard water stains are those annoying white deposits that appear on faucets, showerheads, and shower doors. Vinegar is excellent at dissolving these mineral deposits.
1. Spray the affected area with the vinegar and salt solution.
2. Let it sit for a few minutes.
3. Wipe clean with a cloth or sponge.
4. For tougher stains, soak a cloth in vinegar and salt solution and wrap it around the faucet or showerhead. Let it sit for an hour or two, then scrub and rinse.
Cleaning the Oven
Cleaning the oven is probably my least favorite chore, but vinegar and salt can make it a little easier.
1. Remove any loose debris from the oven.
2. Make a paste of vinegar and salt.
3. Apply the paste to the baked-on food and grease.
4. Let it sit overnight.
5. Scrub the oven with a sponge or scraper.
6. Rinse thoroughly with water.
You might need to repeat this process a few times for a really dirty oven.
Polishing Copper
Vinegar and salt can also be used to polish copper.
1. Make a paste of vinegar and salt.
2. Apply the paste to the copper item.
3. Let it sit for a few minutes.
4. Rub the paste into the copper with a soft cloth.
5. Rinse with water and dry thoroughly.
Your copper will be shiny and new in no time!
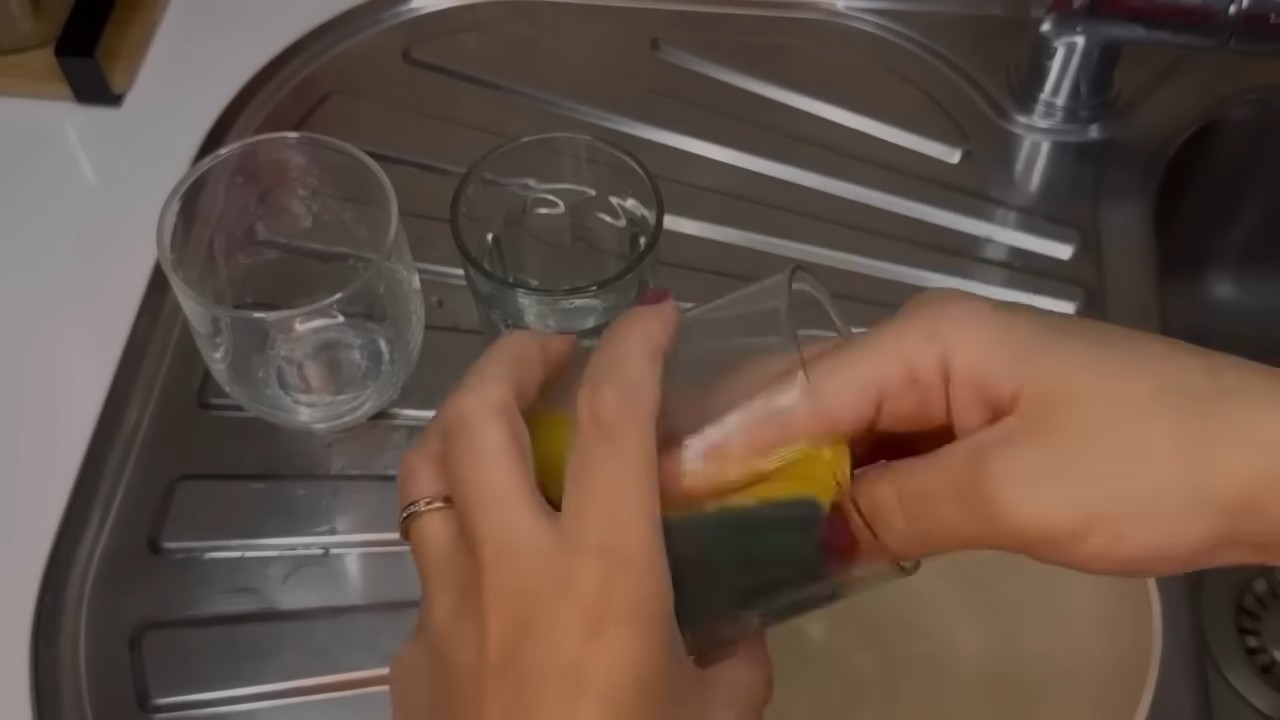
Cleaning Shower Heads
Shower heads can get clogged with mineral deposits, reducing water pressure. Here’s how to clean them:
1. Remove the shower head (if possible).
2. Fill a plastic bag with vinegar and salt solution.
3. Submerge the shower head in the bag, securing it with a rubber band.
4. Let it soak for several hours or overnight.
5. Remove the shower head and rinse thoroughly with water.
6. Reinstall the shower head.
Important Considerations
While vinegar and salt are generally safe to use, there are a few things to keep in mind:
* Test on an inconspicuous area first. Before cleaning an entire surface, test the solution on a small, hidden area to make sure it doesn’t damage the material.
* Avoid using on certain surfaces. Don’t use vinegar and salt on marble, granite, or other natural stone surfaces, as the acid can etch the stone. Also, avoid using it on waxed wood, as it can strip the wax.
* Don’t mix with bleach. Mixing vinegar with bleach can create toxic fumes.
* Ventilate the area. When cleaning with vinegar, make sure to ventilate the area well.
My Personal Tips and Tricks
* I always keep a spray bottle of vinegar and salt solution under my kitchen sink for quick cleanups.
* For extra cleaning power, I sometimes add a few drops of essential oil to my vinegar and salt solution. Lemon, tea tree, and lavender are all great choices.
* Don’t be afraid to experiment with the ratio of vinegar and salt to find what works best for you.
* Remember to wear gloves if you have sensitive skin.
I hope you found this DIY cleaning guide helpful! Give vinegar and salt a try – you might be surprised at how effective it is. Happy cleaning!
Conclusion
So, there you have it! Ditching harsh chemicals and embracing the power of vinegar and salt for cleaning is not just a trend; it’s a revolution in how we approach household chores. We’ve explored how this simple yet potent combination can tackle a surprising array of cleaning challenges, from stubborn grime in your bathroom to revitalizing your kitchen surfaces. But why is this DIY cleaning trick a must-try?
Firstly, it’s incredibly cost-effective. Vinegar and salt are pantry staples, readily available and significantly cheaper than most commercial cleaning products. Think about the savings you’ll accumulate over time! Secondly, it’s eco-friendly. By opting for natural ingredients, you’re reducing your exposure to harmful chemicals and minimizing your environmental footprint. You’re contributing to a healthier home and a healthier planet. Thirdly, it’s surprisingly effective. The acidity of vinegar combined with the abrasive nature of salt creates a powerful cleaning duo that can cut through grease, dissolve mineral deposits, and disinfect surfaces.
But the beauty of this DIY approach lies in its versatility. Feel free to experiment with variations to suit your specific needs. For instance, for extra disinfecting power, add a few drops of your favorite essential oil, such as tea tree or eucalyptus. These oils not only enhance the cleaning properties but also leave behind a refreshing scent. If you’re dealing with particularly stubborn stains, create a paste of vinegar and salt and let it sit on the affected area for a longer period before scrubbing. For delicate surfaces, dilute the vinegar with water to prevent damage. Remember to always test in an inconspicuous area first.
Consider adding baking soda to the mix for an even more powerful cleaning solution. The combination of vinegar, salt, and baking soda creates a fizzing action that helps to lift dirt and grime. This is particularly effective for cleaning drains and unclogging pipes. You can also infuse your vinegar with citrus peels for a more pleasant scent and added cleaning power. Simply soak citrus peels in vinegar for a few weeks, then strain and use the infused vinegar as your cleaning solution.
The possibilities are endless! The key is to experiment and find what works best for you and your home.
We wholeheartedly encourage you to give this vinegar and salt cleaning method a try. Embrace the simplicity, the affordability, and the eco-friendliness of this natural cleaning solution. You might be surprised at how effective it is and how much you enjoy the process.
But don’t just take our word for it! We’re eager to hear about your experiences. Share your tips, your successes, and even your challenges in the comments section below. Let’s create a community of DIY cleaning enthusiasts who are passionate about creating a cleaner, healthier, and more sustainable home. What surfaces did you clean? What variations did you try? What were the results? Your feedback will not only help others but also inspire us to continue exploring the wonders of natural cleaning. So, grab your vinegar, your salt, and get ready to experience the magic of DIY cleaning! Let’s make our homes sparkle, naturally!
Frequently Asked Questions (FAQ)
Is vinegar and salt cleaning safe for all surfaces?
No, vinegar and salt are not safe for all surfaces. It’s crucial to exercise caution and test the solution in an inconspicuous area before applying it to the entire surface. Avoid using vinegar and salt on natural stone surfaces like marble, granite, and limestone, as the acidity of the vinegar can etch and damage these materials. Similarly, avoid using it on waxed wood furniture, as it can strip the wax finish. It’s also best to avoid using it on aluminum, as the salt can cause corrosion. Always check the manufacturer’s recommendations for cleaning specific surfaces. When in doubt, dilute the vinegar with water to reduce its acidity and minimize the risk of damage.
What type of vinegar and salt should I use?
For most cleaning purposes, white distilled vinegar is the best option. It’s inexpensive, readily available, and has a high acidity level, making it effective at cutting through grease and grime. Avoid using flavored vinegars, as they may contain sugars or other additives that can leave a sticky residue. As for salt, regular table salt or sea salt works well. Coarse salt can provide extra scrubbing power for tough stains, but be careful not to scratch delicate surfaces. Epsom salt can also be used for certain cleaning tasks, such as cleaning bathroom tiles and grout.
How do I make a vinegar and salt cleaning solution?
The basic recipe for a vinegar and salt cleaning solution is to mix equal parts of white distilled vinegar and salt. For example, you can mix 1 cup of vinegar with 1 cup of salt. Adjust the quantities as needed depending on the size of the area you’re cleaning. For tougher stains, you can create a paste by adding more salt to the vinegar. For more delicate surfaces, dilute the vinegar with water. You can also add a few drops of essential oil for a more pleasant scent and added cleaning power.
Can I use vinegar and salt to clean my toilet?
Yes, vinegar and salt can be used to clean your toilet. Pour a cup of vinegar into the toilet bowl and sprinkle a generous amount of salt around the rim. Let it sit for at least 30 minutes, or even overnight for stubborn stains. Then, scrub the bowl with a toilet brush and flush. The vinegar will help to dissolve mineral deposits and the salt will provide abrasive cleaning power. For extra cleaning power, you can add baking soda to the mix.
How do I get rid of the vinegar smell after cleaning?
The vinegar smell will typically dissipate on its own within a few hours. To speed up the process, you can open windows and doors to ventilate the area. You can also place a bowl of baking soda in the room to absorb the odor. Another option is to add a few drops of essential oil to your cleaning solution, which will leave behind a more pleasant scent. Citrus essential oils, such as lemon or orange, are particularly effective at masking the vinegar smell.
Can I store a vinegar and salt cleaning solution?
Yes, you can store a vinegar and salt cleaning solution in a sealed container. However, it’s best to use it within a few weeks, as the salt may eventually settle to the bottom. Be sure to label the container clearly to avoid confusion. Store the solution in a cool, dark place away from children and pets. It’s also important to note that the solution may become cloudy over time, but this does not affect its cleaning effectiveness.
What are some other uses for vinegar and salt cleaning?
Besides cleaning bathrooms and kitchens, vinegar and salt can be used for a variety of other cleaning tasks. It can be used to clean windows and mirrors, remove hard water stains from showerheads and faucets, clean coffee makers and kettles, and remove rust from metal surfaces. It can also be used to clean cutting boards, sanitize sponges, and deodorize garbage disposals. The possibilities are endless!
What safety precautions should I take when using vinegar and salt for cleaning?
While vinegar and salt are generally safe, it’s important to take certain safety precautions. Avoid getting the solution in your eyes, as it can cause irritation. If contact occurs, rinse thoroughly with water. Wear gloves to protect your hands, especially if you have sensitive skin. Do not mix vinegar with bleach, as this can create toxic fumes. Always test the solution in an inconspicuous area before applying it to the entire surface. Keep vinegar and salt out of reach of children and pets.
Leave a Comment