
Yardless Produce Harvesting: Imagine plucking fresh, juicy tomatoes right from your balcony, or snipping fragrant herbs grown on your windowsill, even without a sprawling garden! Sounds like a dream, right? Well, it doesn’t have to be! For centuries, people have found creative ways to cultivate food in limited spaces, from ancient rooftop gardens in bustling cities to modern-day vertical farms. This tradition of resourcefulness and ingenuity continues today, empowering us to reconnect with nature and enjoy the fruits (and vegetables!) of our labor, no matter how small our living space.
In today’s world, where access to fresh, healthy produce can be a challenge, and where many of us are living in apartments or smaller homes, the ability to engage in yardless produce harvesting is more important than ever. I’m excited to share some simple, effective DIY tricks and hacks that will transform your small space into a thriving edible oasis. Whether you’re a seasoned gardener or a complete beginner, these tips will help you maximize your yield, minimize your effort, and enjoy the satisfaction of growing your own food, even without a traditional yard. Get ready to unleash your inner urban farmer!
Yardless Produce Harvesting: Grow Your Own Food, Even Without a Yard!
Hey there, fellow gardening enthusiasts! Ever dreamed of fresh, homegrown veggies but thought you needed acres of land? Think again! I’m here to show you how to achieve a bountiful harvest, even if you’re living in an apartment, condo, or just have a tiny outdoor space. We’re diving into the wonderful world of yardless produce harvesting!
What You’ll Need: The Essential Supplies
Before we get our hands dirty (or, well, potting mix-y), let’s gather our supplies. This list covers the basics, but feel free to customize it based on the specific plants you want to grow.
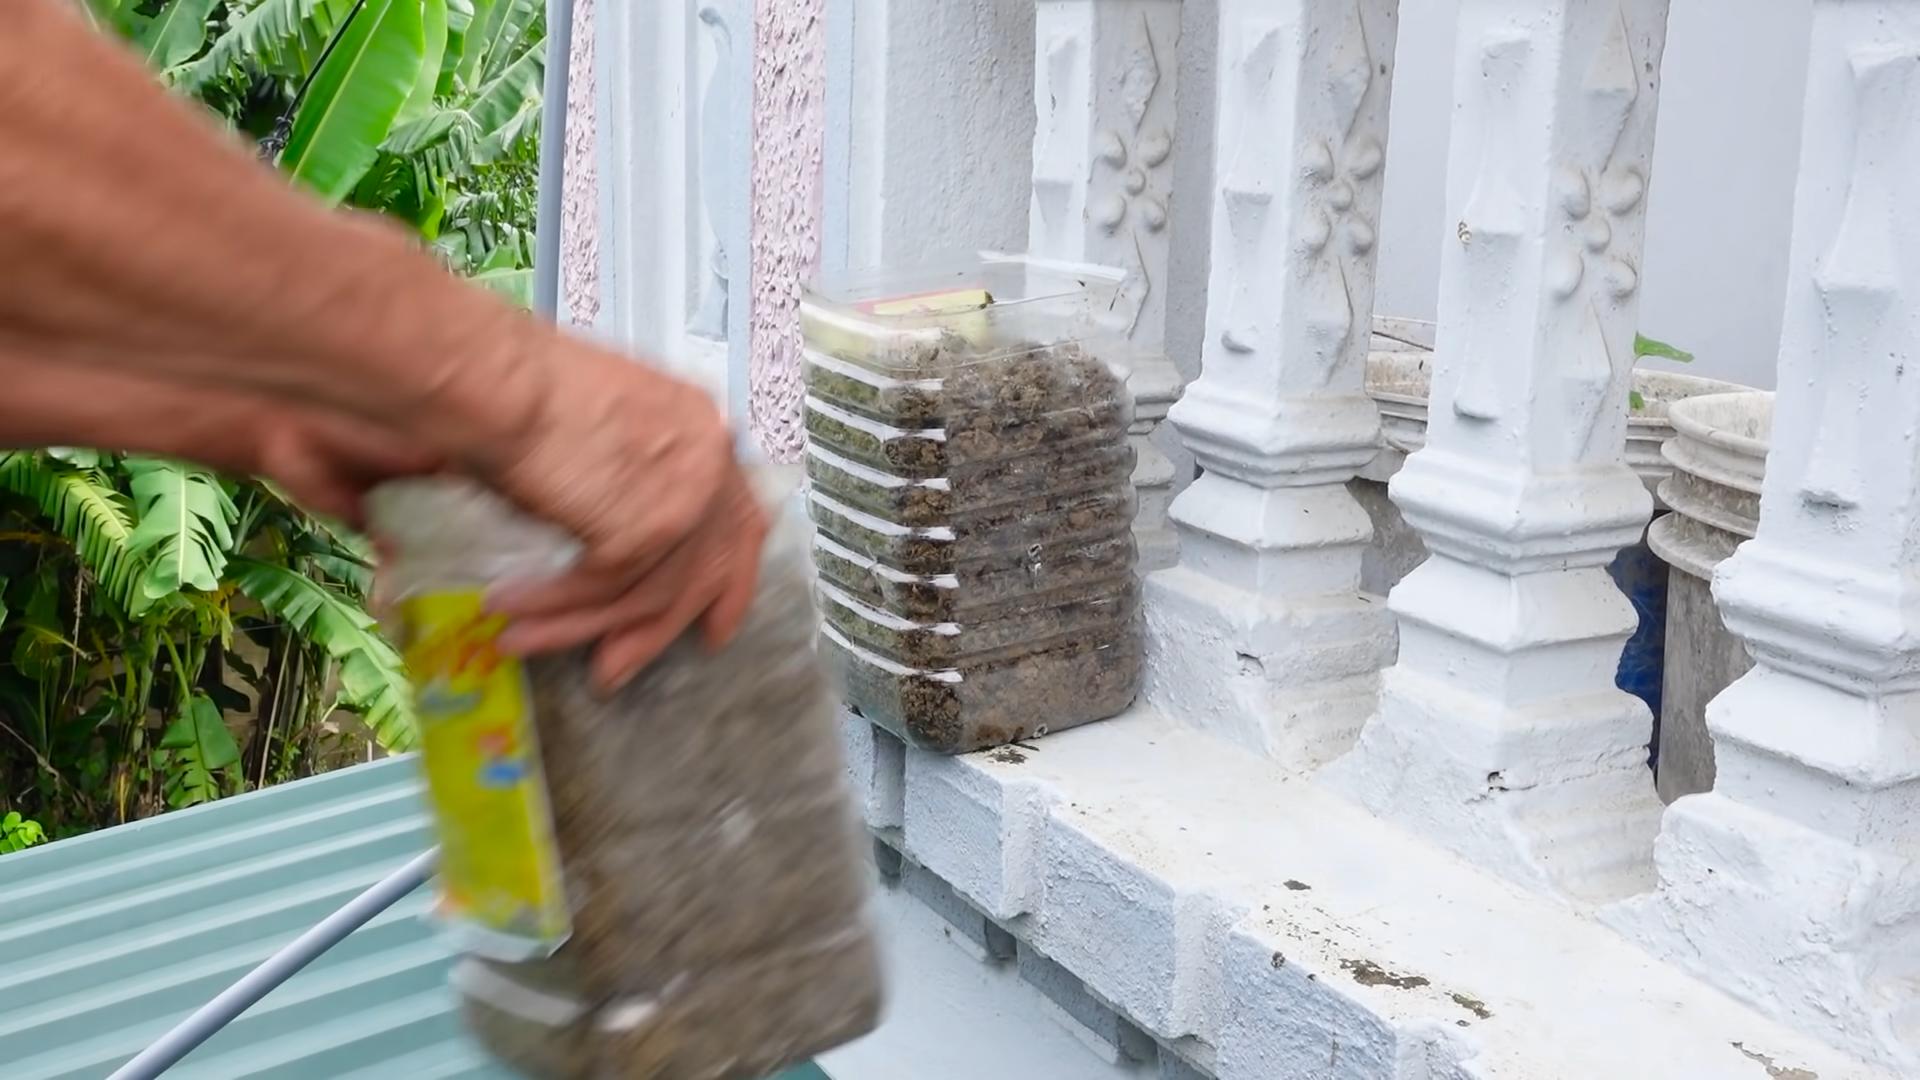
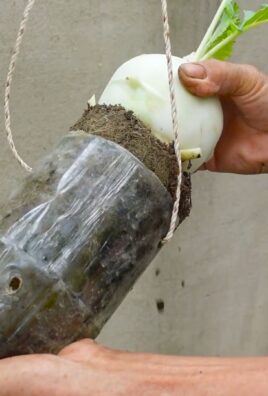
* Containers: This is where the magic happens! Think pots, planters, hanging baskets, grow bags – anything that can hold soil and drain properly. Consider the size your chosen plants will need when fully grown.
* Potting Mix: Don’t skimp on this! Use a high-quality potting mix specifically formulated for containers. Garden soil is too dense and won’t drain well.
* Seeds or Seedlings: Choose varieties that are well-suited for container gardening. Dwarf or bush varieties are often a great choice.
* Fertilizer: Container plants rely on you for nutrients. A slow-release fertilizer or liquid fertilizer will keep them happy and healthy.
* Watering Can or Hose: Essential for keeping your plants hydrated.
* Trowel or Small Shovel: For planting and transplanting.
* Plant Markers: To keep track of what you’ve planted where. Trust me, you’ll forget!
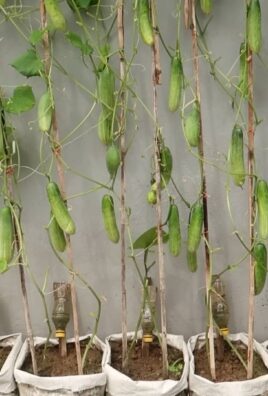
* Support Structures (Optional): For vining plants like tomatoes or cucumbers, you’ll need stakes, trellises, or cages.
* Grow Lights (Optional): If you don’t have enough natural light, grow lights can be a lifesaver.
* Spray Bottle: For misting seedlings or applying foliar fertilizer.
* Gardening Gloves: To keep your hands clean and protected.
Choosing the Right Plants: Size Matters!
Not all plants are created equal when it comes to container gardening. Here are some of my favorite choices that thrive in smaller spaces:
* Tomatoes: Bush or dwarf varieties like ‘Patio’ or ‘Tiny Tim’ are perfect.
* Peppers: Bell peppers, chili peppers, and sweet peppers all do well in containers.
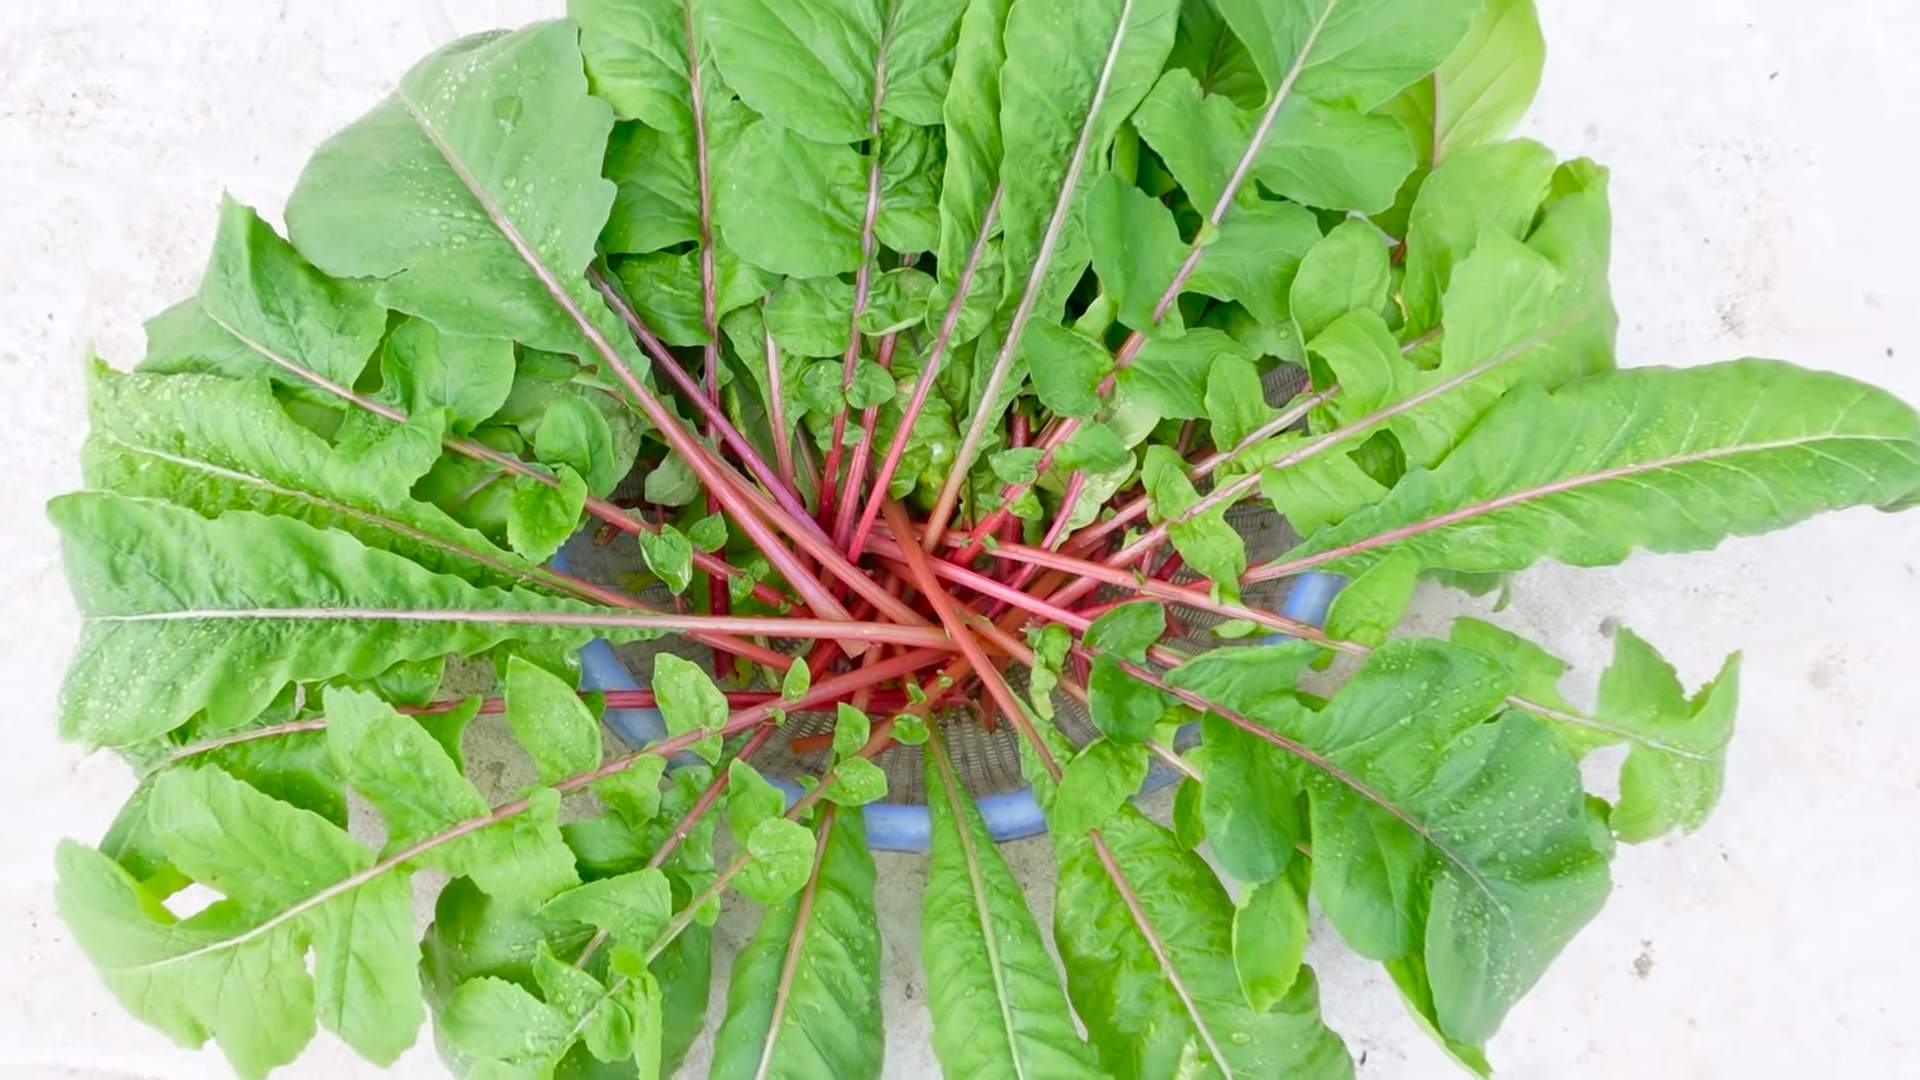
* Lettuce and Salad Greens: Easy to grow and harvest repeatedly.
* Spinach: Another leafy green that’s happy in a pot.
* Herbs: Basil, mint, rosemary, thyme, oregano – the possibilities are endless!
* Strawberries: A delightful treat that can be grown in hanging baskets or pots.
* Radishes: Quick to mature and perfect for small spaces.
* Carrots: Choose shorter, round varieties like ‘Thumbelina’.
* Bush Beans: A compact and productive option.
* Zucchini: Select bush varieties for container growing.
Getting Started: Planting Your Seeds or Seedlings
Okay, let’s get planting! This is the fun part.
1. Preparing Your Containers
* Cleanliness is Key: Make sure your containers are clean to prevent the spread of diseases. Wash them with soapy water and rinse thoroughly.
* Drainage is Crucial: Ensure your containers have drainage holes. If not, drill some! Soggy roots are a plant’s worst enemy.
* Add Potting Mix: Fill your containers with high-quality potting mix, leaving about an inch or two of space at the top.
2. Planting Seeds
* Read the Seed Packet: Follow the instructions on the seed packet for planting depth and spacing.
* Sow Seeds: Sprinkle the seeds evenly over the surface of the soil.
* Cover Lightly: Gently cover the seeds with a thin layer of potting mix.
* Water Gently: Water the soil gently to avoid disturbing the seeds. A spray bottle works well for this.
* Label Your Plants: Use plant markers to label each container.
3. Planting Seedlings
* Gently Remove Seedlings: Carefully remove the seedlings from their nursery pots.
* Loosen the Roots: Gently loosen the roots to encourage them to spread.
* Dig a Hole: Dig a hole in the potting mix that’s large enough to accommodate the seedling’s root ball.
* Place Seedling: Place the seedling in the hole and backfill with potting mix.
* Water Thoroughly: Water the seedling thoroughly after planting.
Caring for Your Plants: The Nitty-Gritty
Now that your plants are in their new homes, it’s time to provide them with the care they need to thrive.
1. Watering
* Check the Soil: The best way to determine if your plants need water is to check the soil moisture. Stick your finger into the soil about an inch deep. If it feels dry, it’s time to water.
* Water Deeply: When you water, water deeply until water drains out of the drainage holes. This ensures that the roots are getting enough moisture.
* Avoid Overwatering: Overwatering can lead to root rot. Allow the soil to dry out slightly between waterings.
* Water in the Morning: Water in the morning to allow the foliage to dry before nightfall, which can help prevent fungal diseases.
2. Fertilizing
* Start Early: Begin fertilizing your plants a few weeks after planting.
* Choose a Fertilizer: Use a slow-release fertilizer or a liquid fertilizer specifically formulated for vegetables or herbs.
* Follow Instructions: Follow the instructions on the fertilizer label for application rates.
* Fertilize Regularly: Fertilize your plants regularly throughout the growing season.
3. Sunlight
* Know Your Plants’ Needs: Different plants have different sunlight requirements. Most vegetables and herbs need at least 6 hours of sunlight per day.
* Provide Adequate Sunlight: Place your containers in a location that receives plenty of sunlight.
* Use Grow Lights: If you don’t have enough natural light, use grow lights to supplement.
4. Pruning and Training
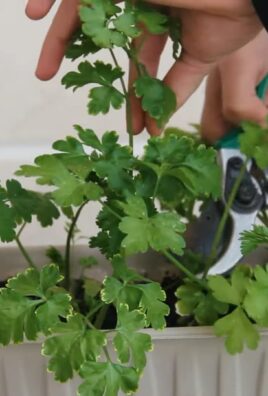
* Prune Regularly: Prune your plants regularly to remove dead or damaged leaves and stems.
* Train Vining Plants: Train vining plants like tomatoes and cucumbers to grow up stakes, trellises, or cages. This will help them stay healthy and productive.
* Pinch Back Herbs: Pinch back herbs regularly to encourage bushier growth.
5. Pest and Disease Control
* Inspect Regularly: Inspect your plants regularly for signs of pests or diseases.
* Identify the Problem: Identify the pest or disease before taking action.
* Use Organic Solutions: Use organic pest and disease control methods whenever possible. Insecticidal soap, neem oil, and horticultural oil are effective options.
* Remove Infested Plants: If a plant is severely infested or diseased, remove it to prevent the problem from spreading to other plants.
Harvesting Your Bounty: The Sweet Reward
This is what it’s all about! Harvesting your own fresh produce is incredibly rewarding.
* Know When to Harvest: Different vegetables and herbs have different harvesting times. Research the specific plants you’re growing to learn when they’re ready to harvest.
* Harvest Regularly: Harvest your produce regularly to encourage continued production.
* Enjoy Your Harvest: Use your fresh produce in salads, soups, sauces, and other dishes. Share your harvest with friends and neighbors!
Troubleshooting: Common Problems and Solutions
Even with the best care, you might encounter some problems along the way. Here are a few common issues and how to address them:
* Yellowing Leaves: Could be caused by overwatering, underwatering, nutrient deficiency, or pests. Check the soil moisture, fertilize, and inspect for pests.
* Leggy Growth: Usually caused by insufficient sunlight. Move your plants to a sunnier location or use grow lights.
* Blossom End Rot (Tomatoes): Caused by calcium deficiency. Add calcium to the soil or use a calcium-rich fertilizer.
* Powdery Mildew: A fungal disease that appears as a white powdery coating on leaves. Improve air circulation, water in the morning, and use a fungicide if necessary.
* Aphids: Small, sap-sucking insects that can weaken plants. Spray with insecticidal soap or neem oil.
Extending Your Growing Season: Keep the Harvest Coming!
Don’t let the end of summer stop you! Here are some tips for extending your growing season:
* Cold Frames: Use cold frames to protect your plants from frost.
* Row
Conclusion
So, there you have it! Transforming your kitchen scraps into a thriving, albeit miniature, garden is not only incredibly rewarding but also surprisingly simple. This method of yardless produce harvesting offers a fantastic way to reduce food waste, enjoy fresh ingredients, and connect with the natural world, even if you’re living in a small apartment or lack a traditional garden.
Why is this a must-try? Because it’s sustainable, cost-effective, and incredibly satisfying. Imagine the joy of snipping fresh scallions grown from the discarded roots you would have otherwise tossed in the trash. Think of the vibrant green of regrown lettuce leaves brightening up your salads. This isn’t just about saving a few dollars; it’s about embracing a more conscious and resourceful lifestyle.
But the beauty of this DIY trick lies in its adaptability. Don’t limit yourself to just scallions and lettuce. Experiment with other vegetables like celery, bok choy, or even ginger. For celery, place the base in a shallow dish of water and watch it sprout from the center. Once it has established roots, transplant it into soil. Bok choy can be regrown similarly to lettuce. For ginger, soak a piece of ginger root in water overnight, then plant it in soil, keeping it moist. You can even try growing herbs like basil or mint from cuttings placed in water until roots develop. The possibilities are truly endless!
Consider these variations to personalize your yardless garden:
* Hydroponic Setup: For a more advanced approach, explore hydroponic systems. These systems use nutrient-rich water solutions instead of soil, allowing for faster growth and greater control over the growing environment.
* Vertical Gardening: If space is truly limited, consider a vertical garden. Use stacked planters or hanging baskets to maximize your growing area.
* Indoor Grow Lights: If you lack sufficient natural light, invest in indoor grow lights. These lights provide the necessary spectrum of light for healthy plant growth.
* Composting: Take your sustainability efforts to the next level by composting your vegetable scraps. This will provide nutrient-rich soil for your regrown produce.
We wholeheartedly encourage you to give this yardless produce harvesting method a try. It’s a fun, educational, and rewarding experience for people of all ages. Start small, experiment with different vegetables, and don’t be afraid to make mistakes. The most important thing is to learn and enjoy the process.
And most importantly, we want to hear about your experiences! Share your successes, your failures, and any tips or tricks you discover along the way. Post photos of your thriving yardless gardens on social media using #YardlessHarvest and tag us! Let’s build a community of resourceful gardeners who are passionate about reducing waste and growing their own food, one kitchen scrap at a time. Your insights could inspire others to embark on their own yardless gardening journey. Happy growing!
Frequently Asked Questions (FAQ)
What vegetables are easiest to regrow from scraps?
Some of the easiest vegetables to regrow from scraps include:
* Scallions (Green Onions): Simply place the root end in a glass of water, changing the water every day or two. You’ll see new green shoots emerge within a few days.
* Lettuce: Place the lettuce stump in a shallow dish of water. New leaves will sprout from the center. Once roots develop, transplant to soil.
* Celery: Similar to lettuce, place the celery base in water. New stalks will grow from the center.
* Bok Choy: Regrow bok choy in the same way as lettuce and celery.
* Garlic Sprouts: If a garlic clove sprouts, plant it in soil. It will grow into a garlic plant, although it may not produce a full bulb in the first season.
* Ginger: Plant a piece of ginger root in soil, keeping it moist. New shoots will emerge.
* Lemongrass: Place the stalk in water until roots appear, then plant in soil.
How much light do regrown vegetables need?
Most regrown vegetables need at least 6 hours of sunlight per day. If you don’t have enough natural light, consider using indoor grow lights. Position the lights a few inches above the plants and adjust as they grow.
What kind of water should I use?
Tap water is generally fine for regrowing vegetables. However, if your tap water is heavily chlorinated, let it sit out for 24 hours before using it to allow the chlorine to dissipate. Filtered water is also a good option.
How often should I change the water?
Change the water every day or two to prevent bacterial growth and ensure the vegetables have access to fresh, oxygenated water.
When should I transplant the regrown vegetables to soil?
Transplant the vegetables to soil once they have developed a good root system. This usually takes about a week or two. Use a well-draining potting mix and water thoroughly after transplanting.
What kind of soil should I use?
Use a well-draining potting mix that is rich in nutrients. You can also add compost to the soil to improve its fertility.
How often should I water the regrown vegetables in soil?
Water the vegetables regularly, keeping the soil moist but not waterlogged. Check the soil moisture by sticking your finger into the soil. If the top inch of soil is dry, it’s time to water.
Can I use fertilizer?
Yes, you can use a diluted liquid fertilizer to provide the vegetables with extra nutrients. Follow the instructions on the fertilizer package.
How long does it take to harvest regrown vegetables?
The time it takes to harvest regrown vegetables varies depending on the type of vegetable and the growing conditions. Scallions can be harvested within a few weeks, while lettuce may take a month or two.
What if my regrown vegetables start to rot?
If your regrown vegetables start to rot, it could be due to overwatering, poor drainage, or bacterial growth. Remove any rotten parts and change the water more frequently. Ensure the vegetables have adequate drainage if planted in soil.
Can I regrow vegetables indefinitely?
While you can regrow some vegetables multiple times, the quality and yield may decrease with each regrowth. It’s best to start with fresh scraps for optimal results.
Is yardless produce harvesting organic?
Whether your yardless produce harvesting is organic depends on the source of your original produce and whether you use organic soil and fertilizers. If you start with organic produce and use organic growing methods, then your regrown produce will also be organic.
What are the benefits of yardless produce harvesting?
The benefits of yardless produce harvesting include:
* Reducing food waste
* Saving money on groceries
* Enjoying fresh, homegrown produce
* Connecting with nature
* Learning about plant growth
* Promoting sustainability
What are the challenges of yardless produce harvesting?
The challenges of yardless produce harvesting include:
* Requires some attention and care
* May not produce a large yield
* Susceptible to pests and diseases
* Requires adequate light and water
Where can I learn more about yardless produce harvesting?
There are many resources available online and in libraries about yardless produce harvesting. Search for articles, videos, and books on the topic. You can also join online gardening communities to connect with other gardeners and share tips and advice.
Leave a Comment